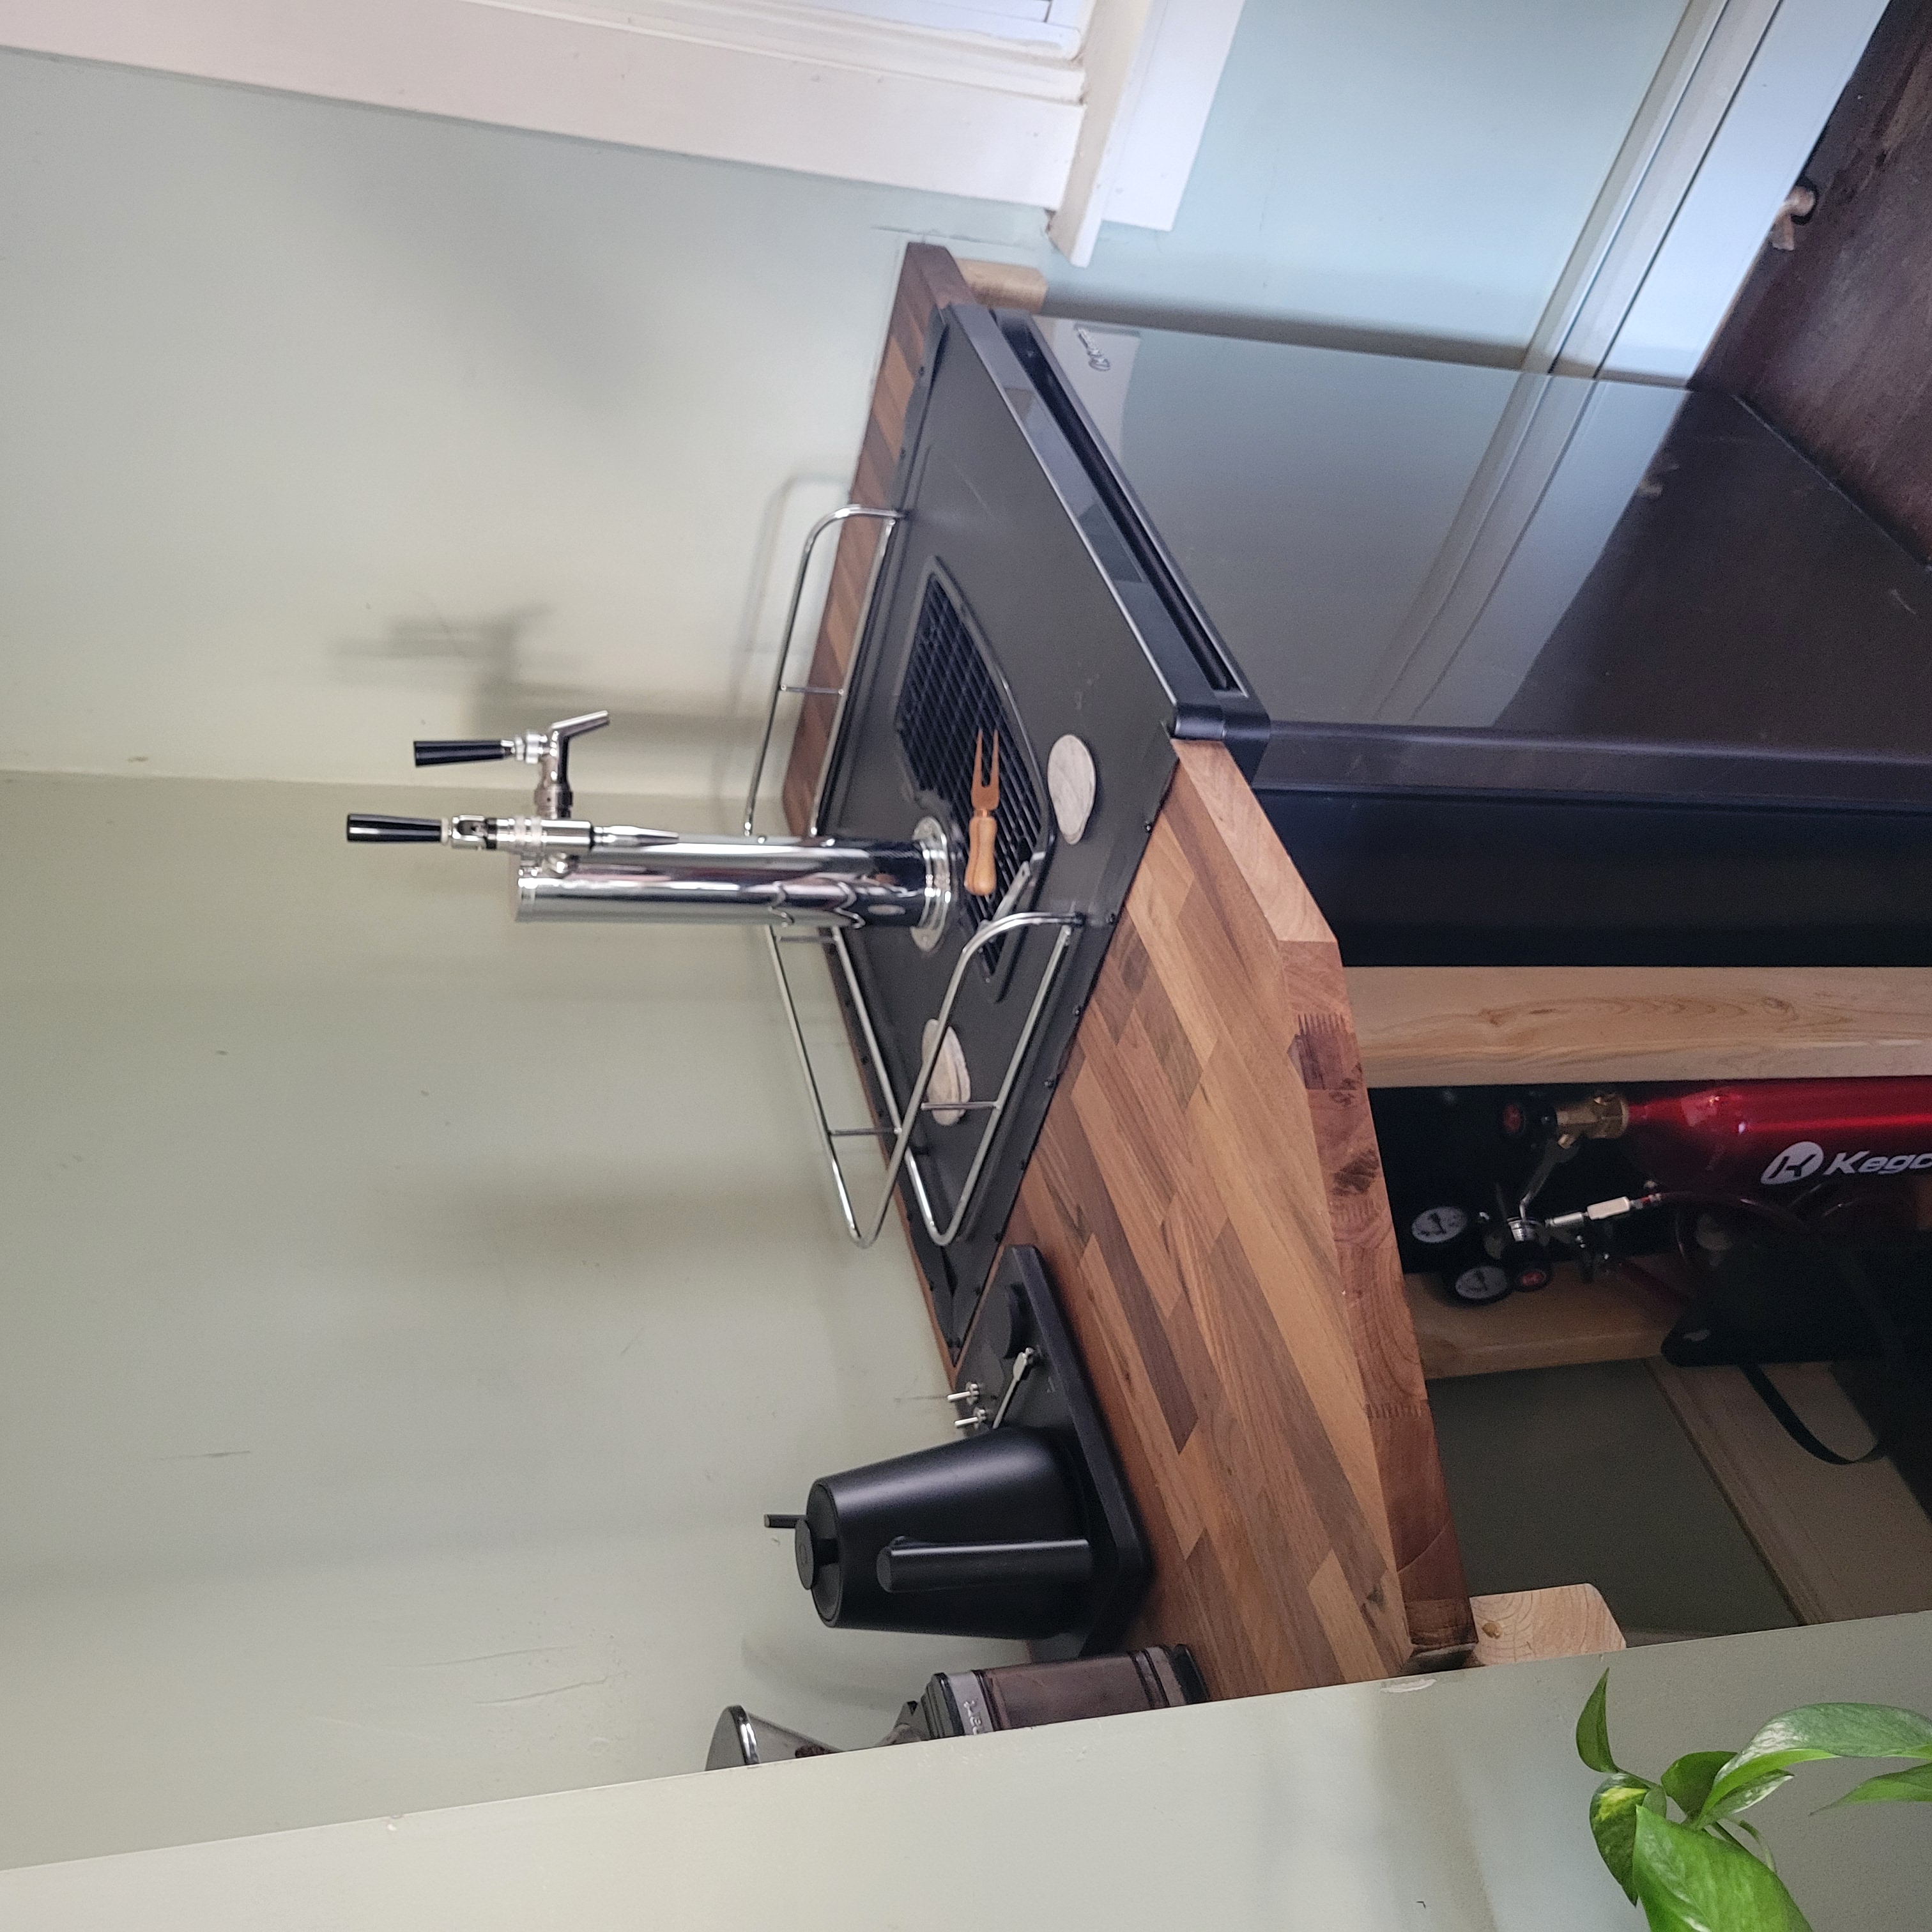
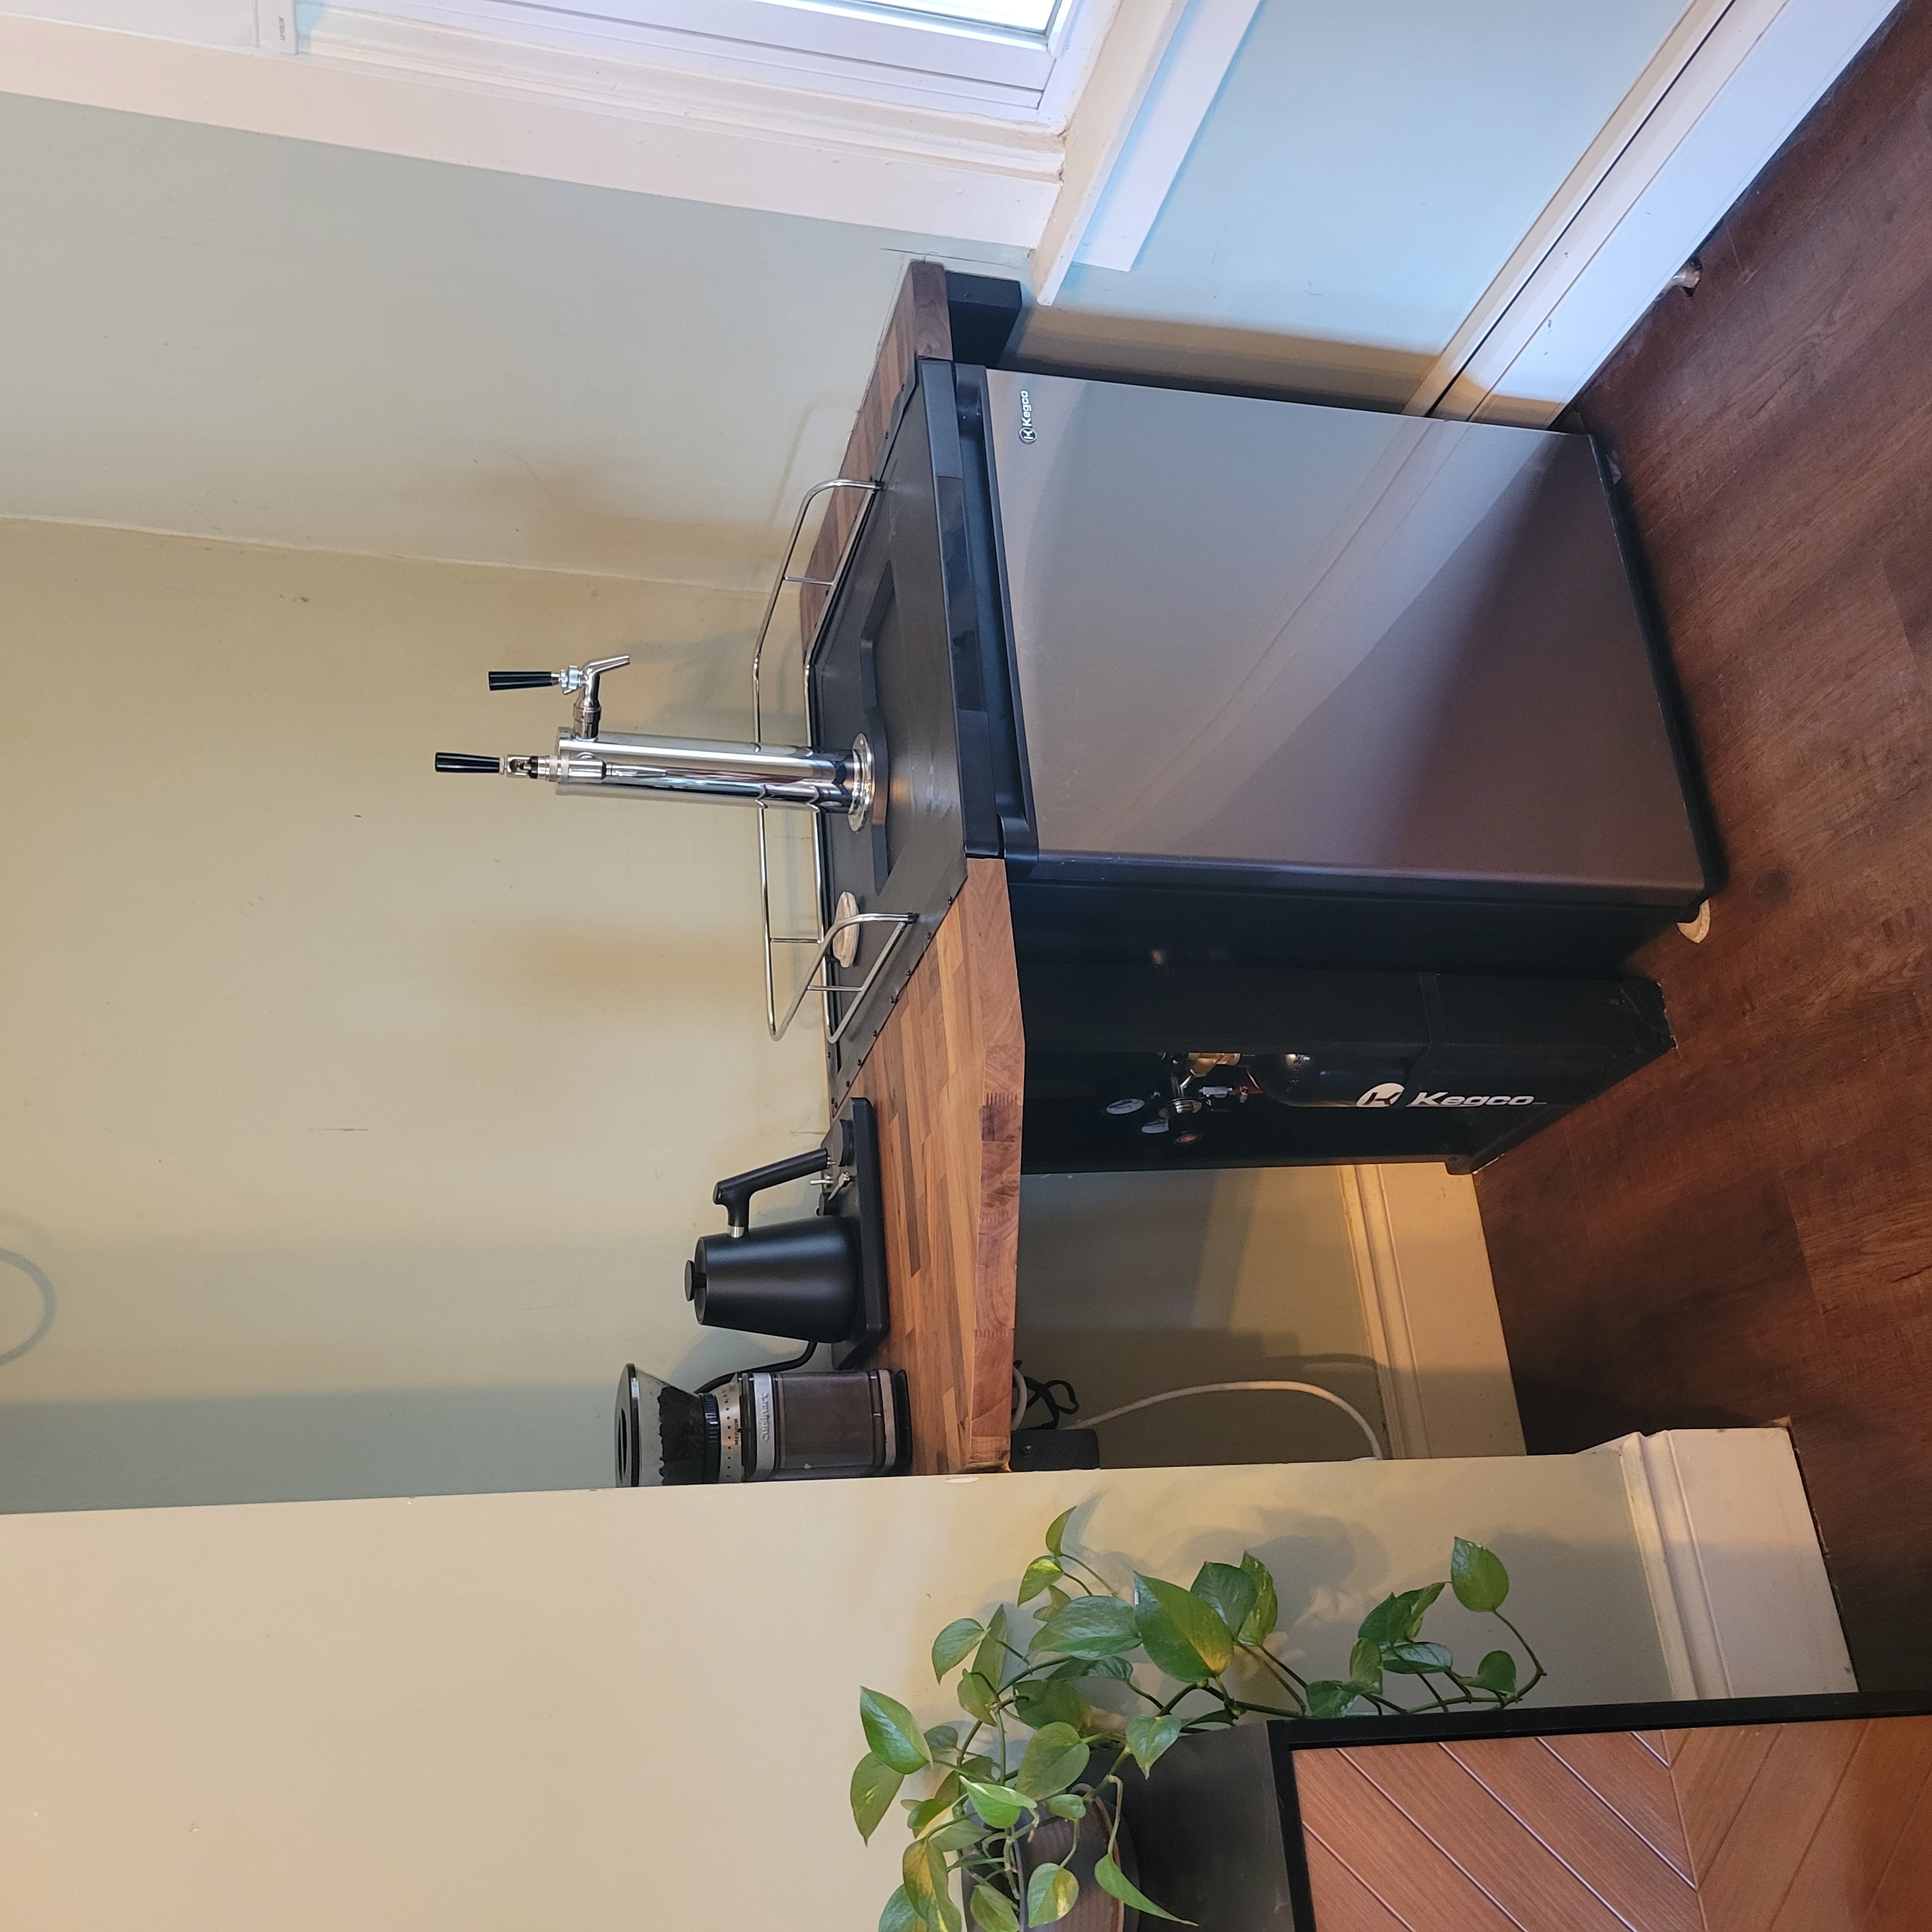
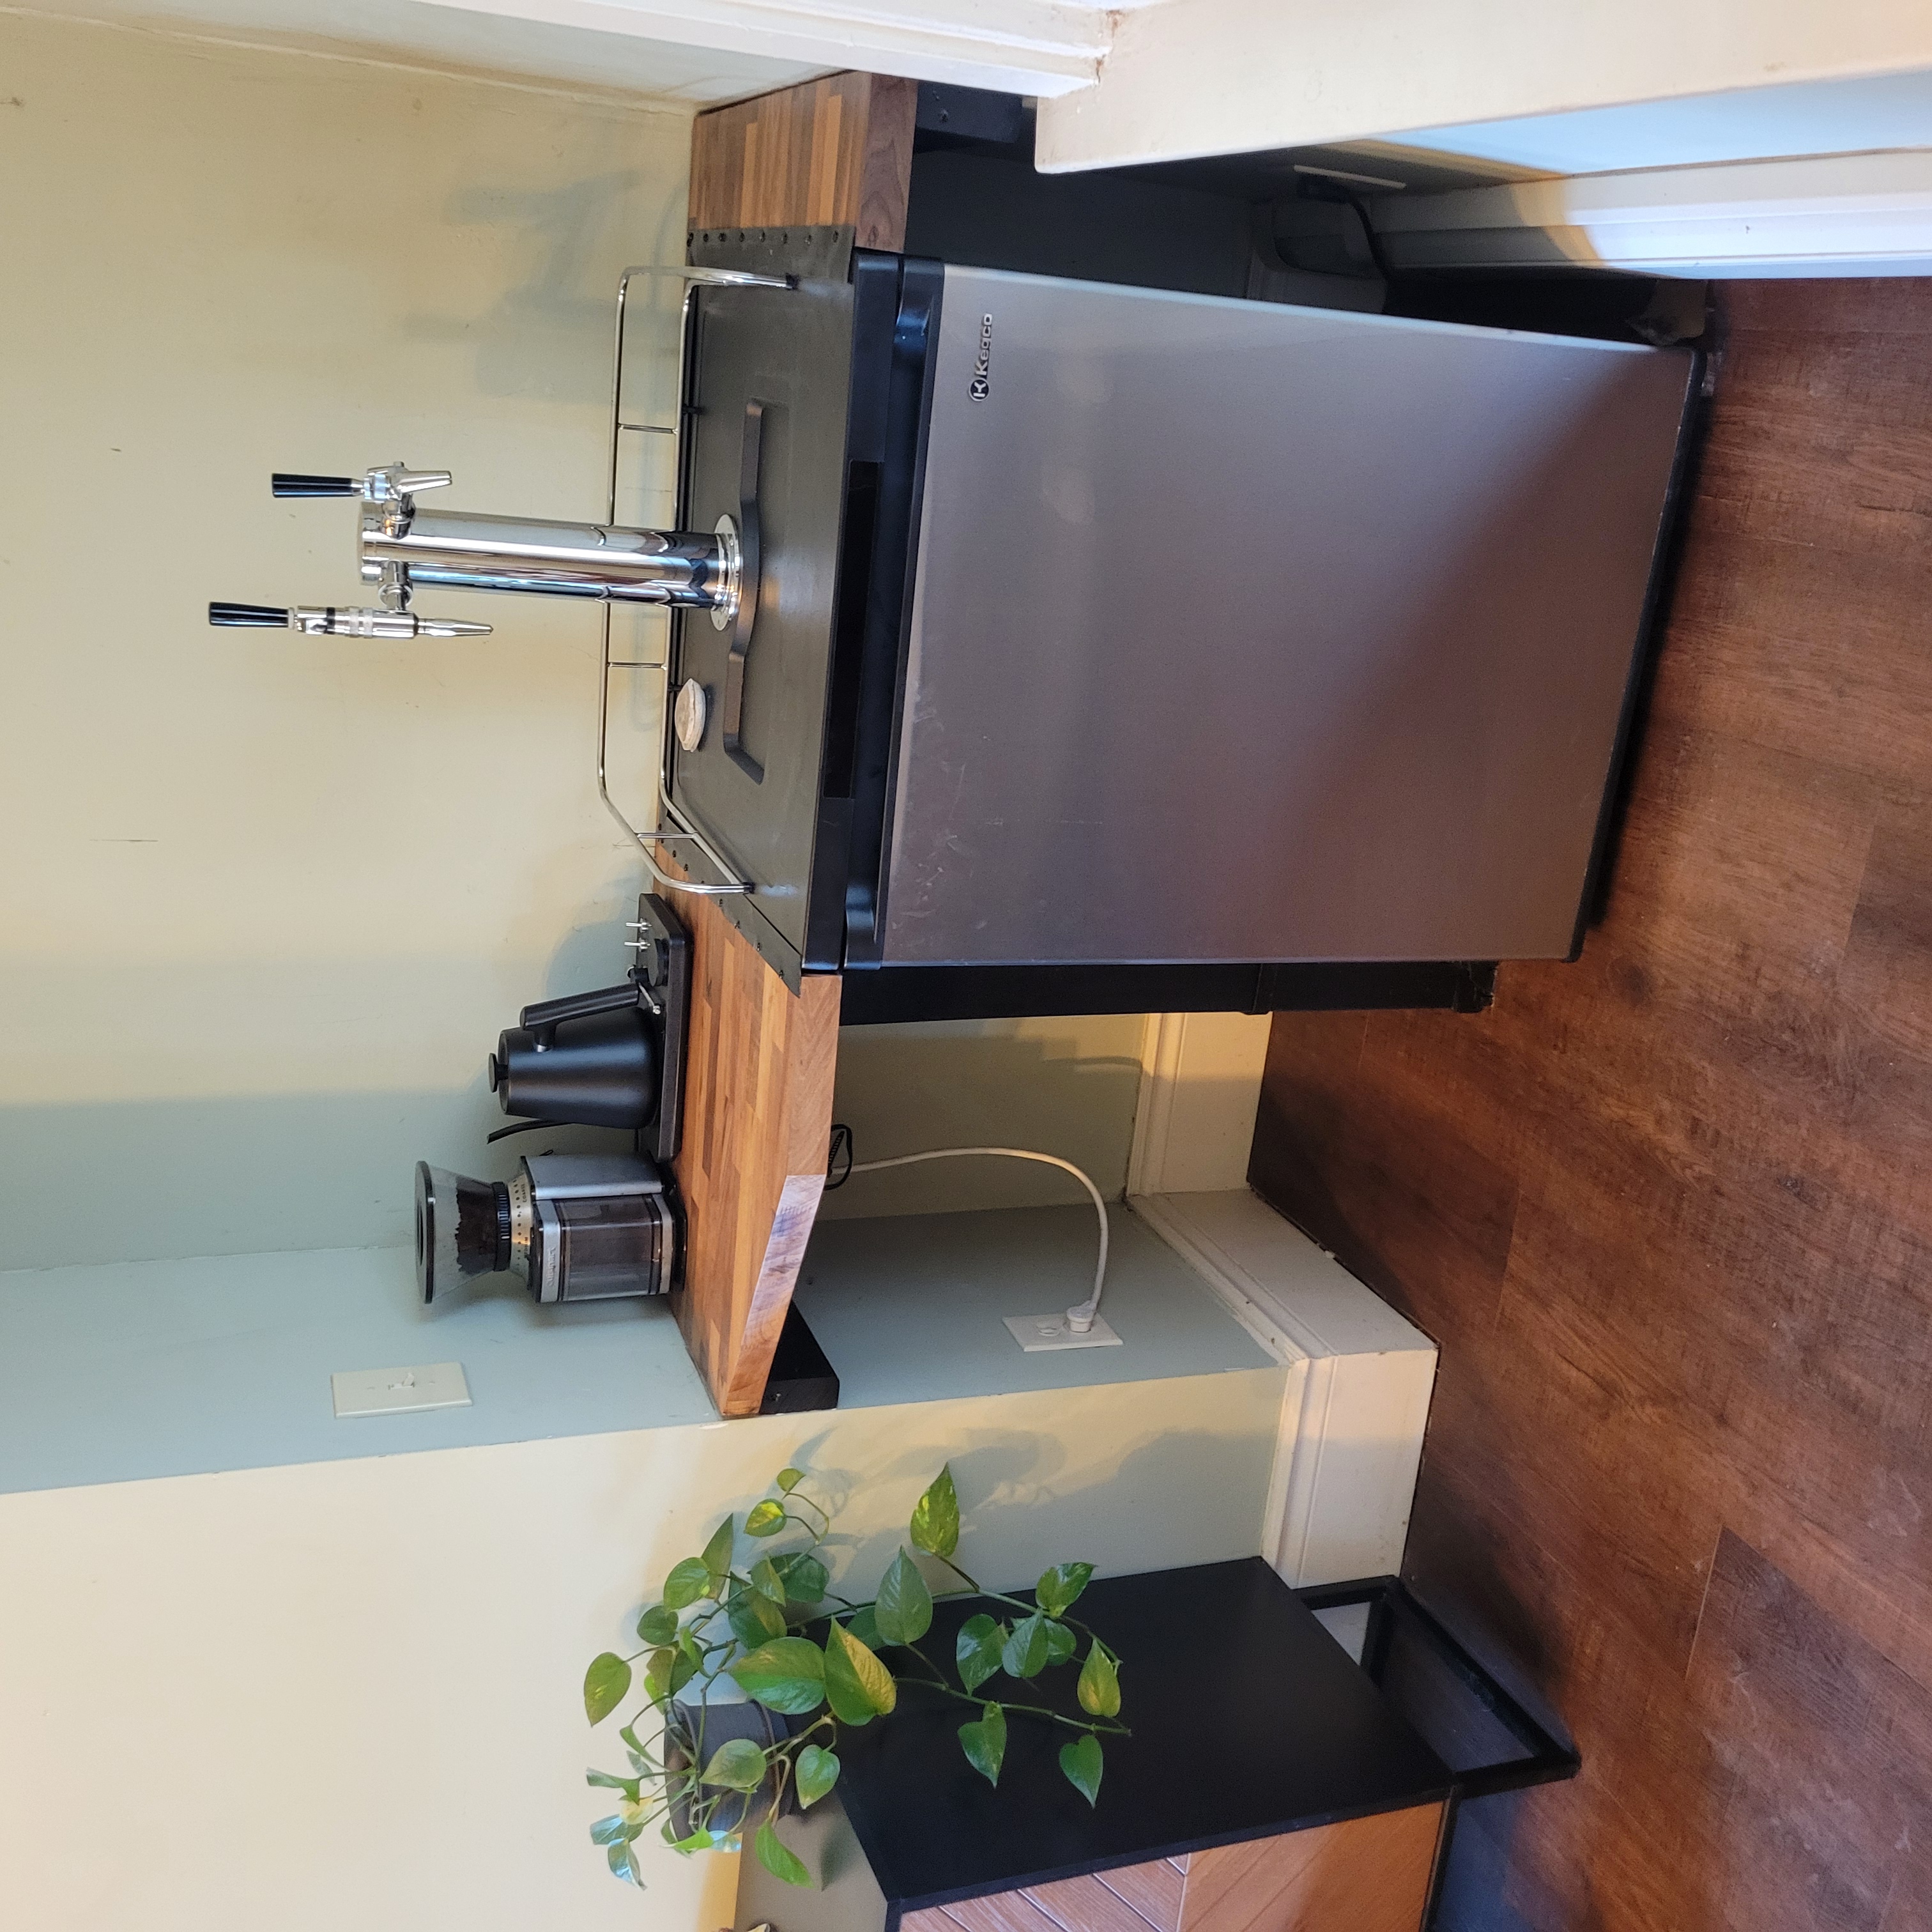
Building a Kegorator with Custom Bartop
After years of homebrewing and dealing with bottles, I finally decided to build a proper kegorator. The project evolved from a simple keg fridge conversion into a full bartop build that took about three weeks from start to finish.
The Kegorator Conversion
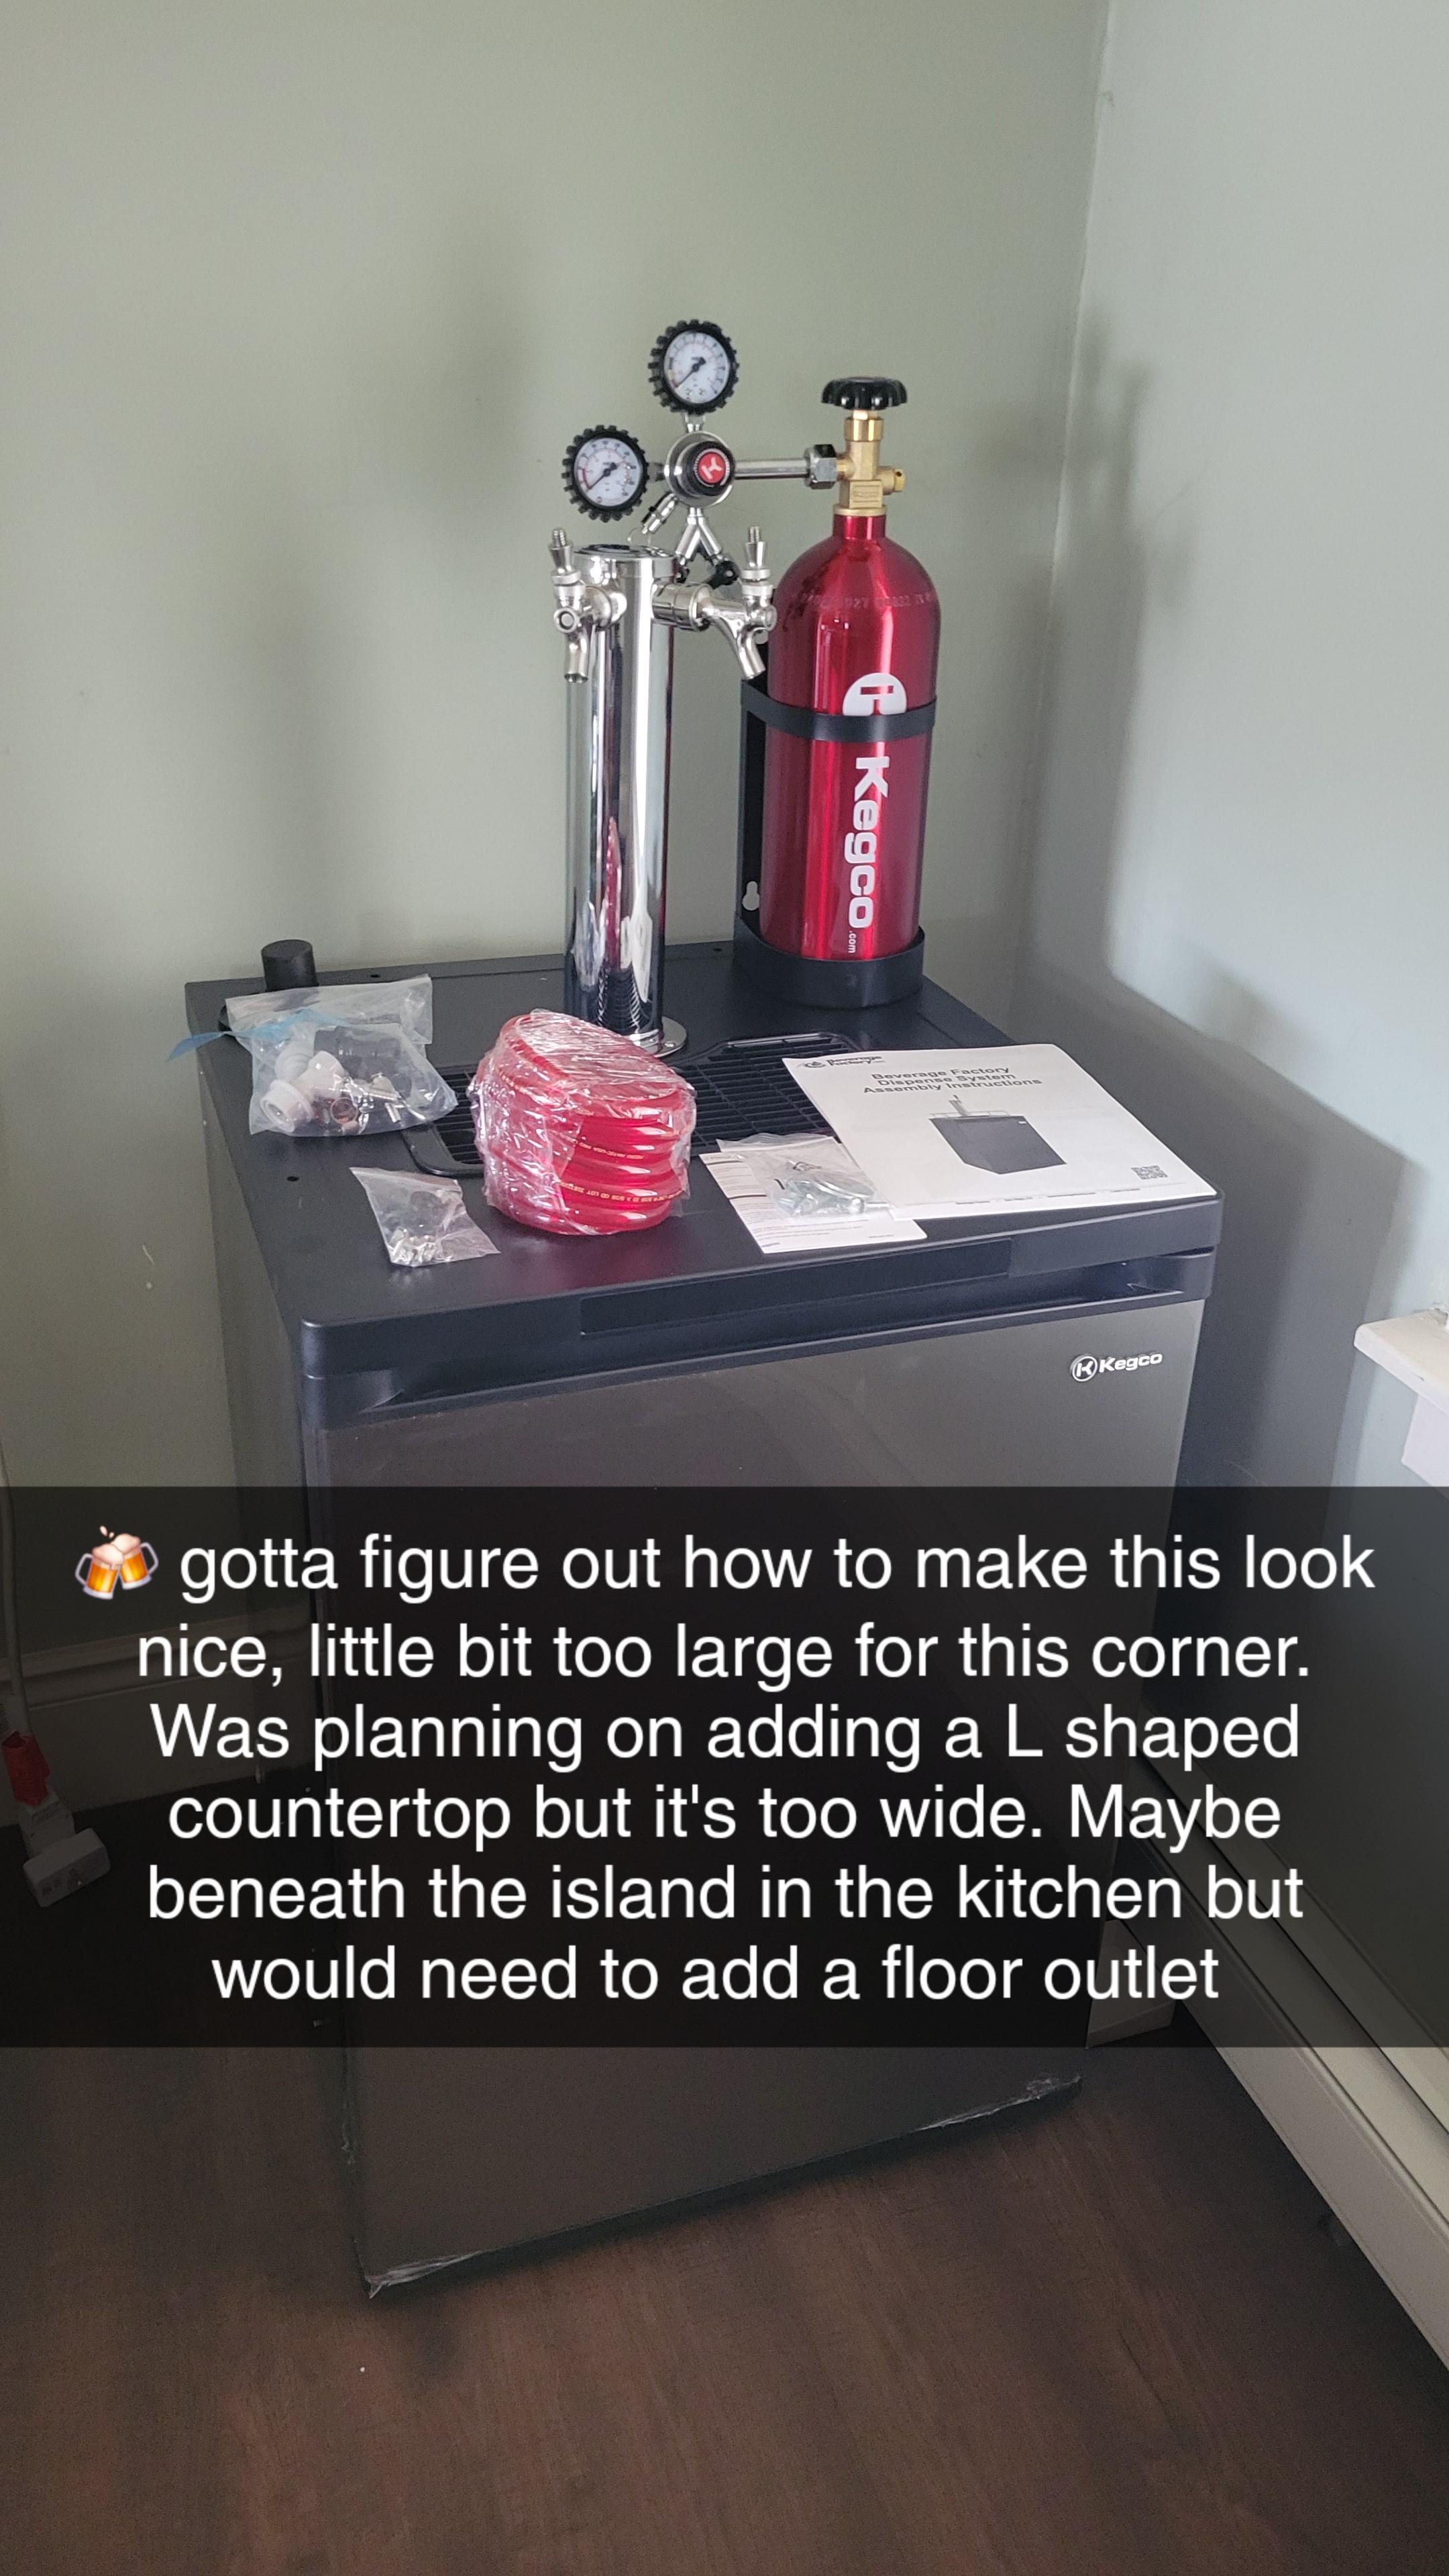
Starting the conversion - getting the mini fridge ready for its new life.
The base is a standard mini fridge that I modified to fit a corny keg. The conversion itself isn’t too complicated - drill a hole for the tap shank, add some insulation adjustments, and run the CO2 lines. The tricky part is making sure everything fits and the temperature stays consistent.
Building the Bartop
The real project was the bartop. I wanted something that would look good in the space and provide a proper surface for pouring.
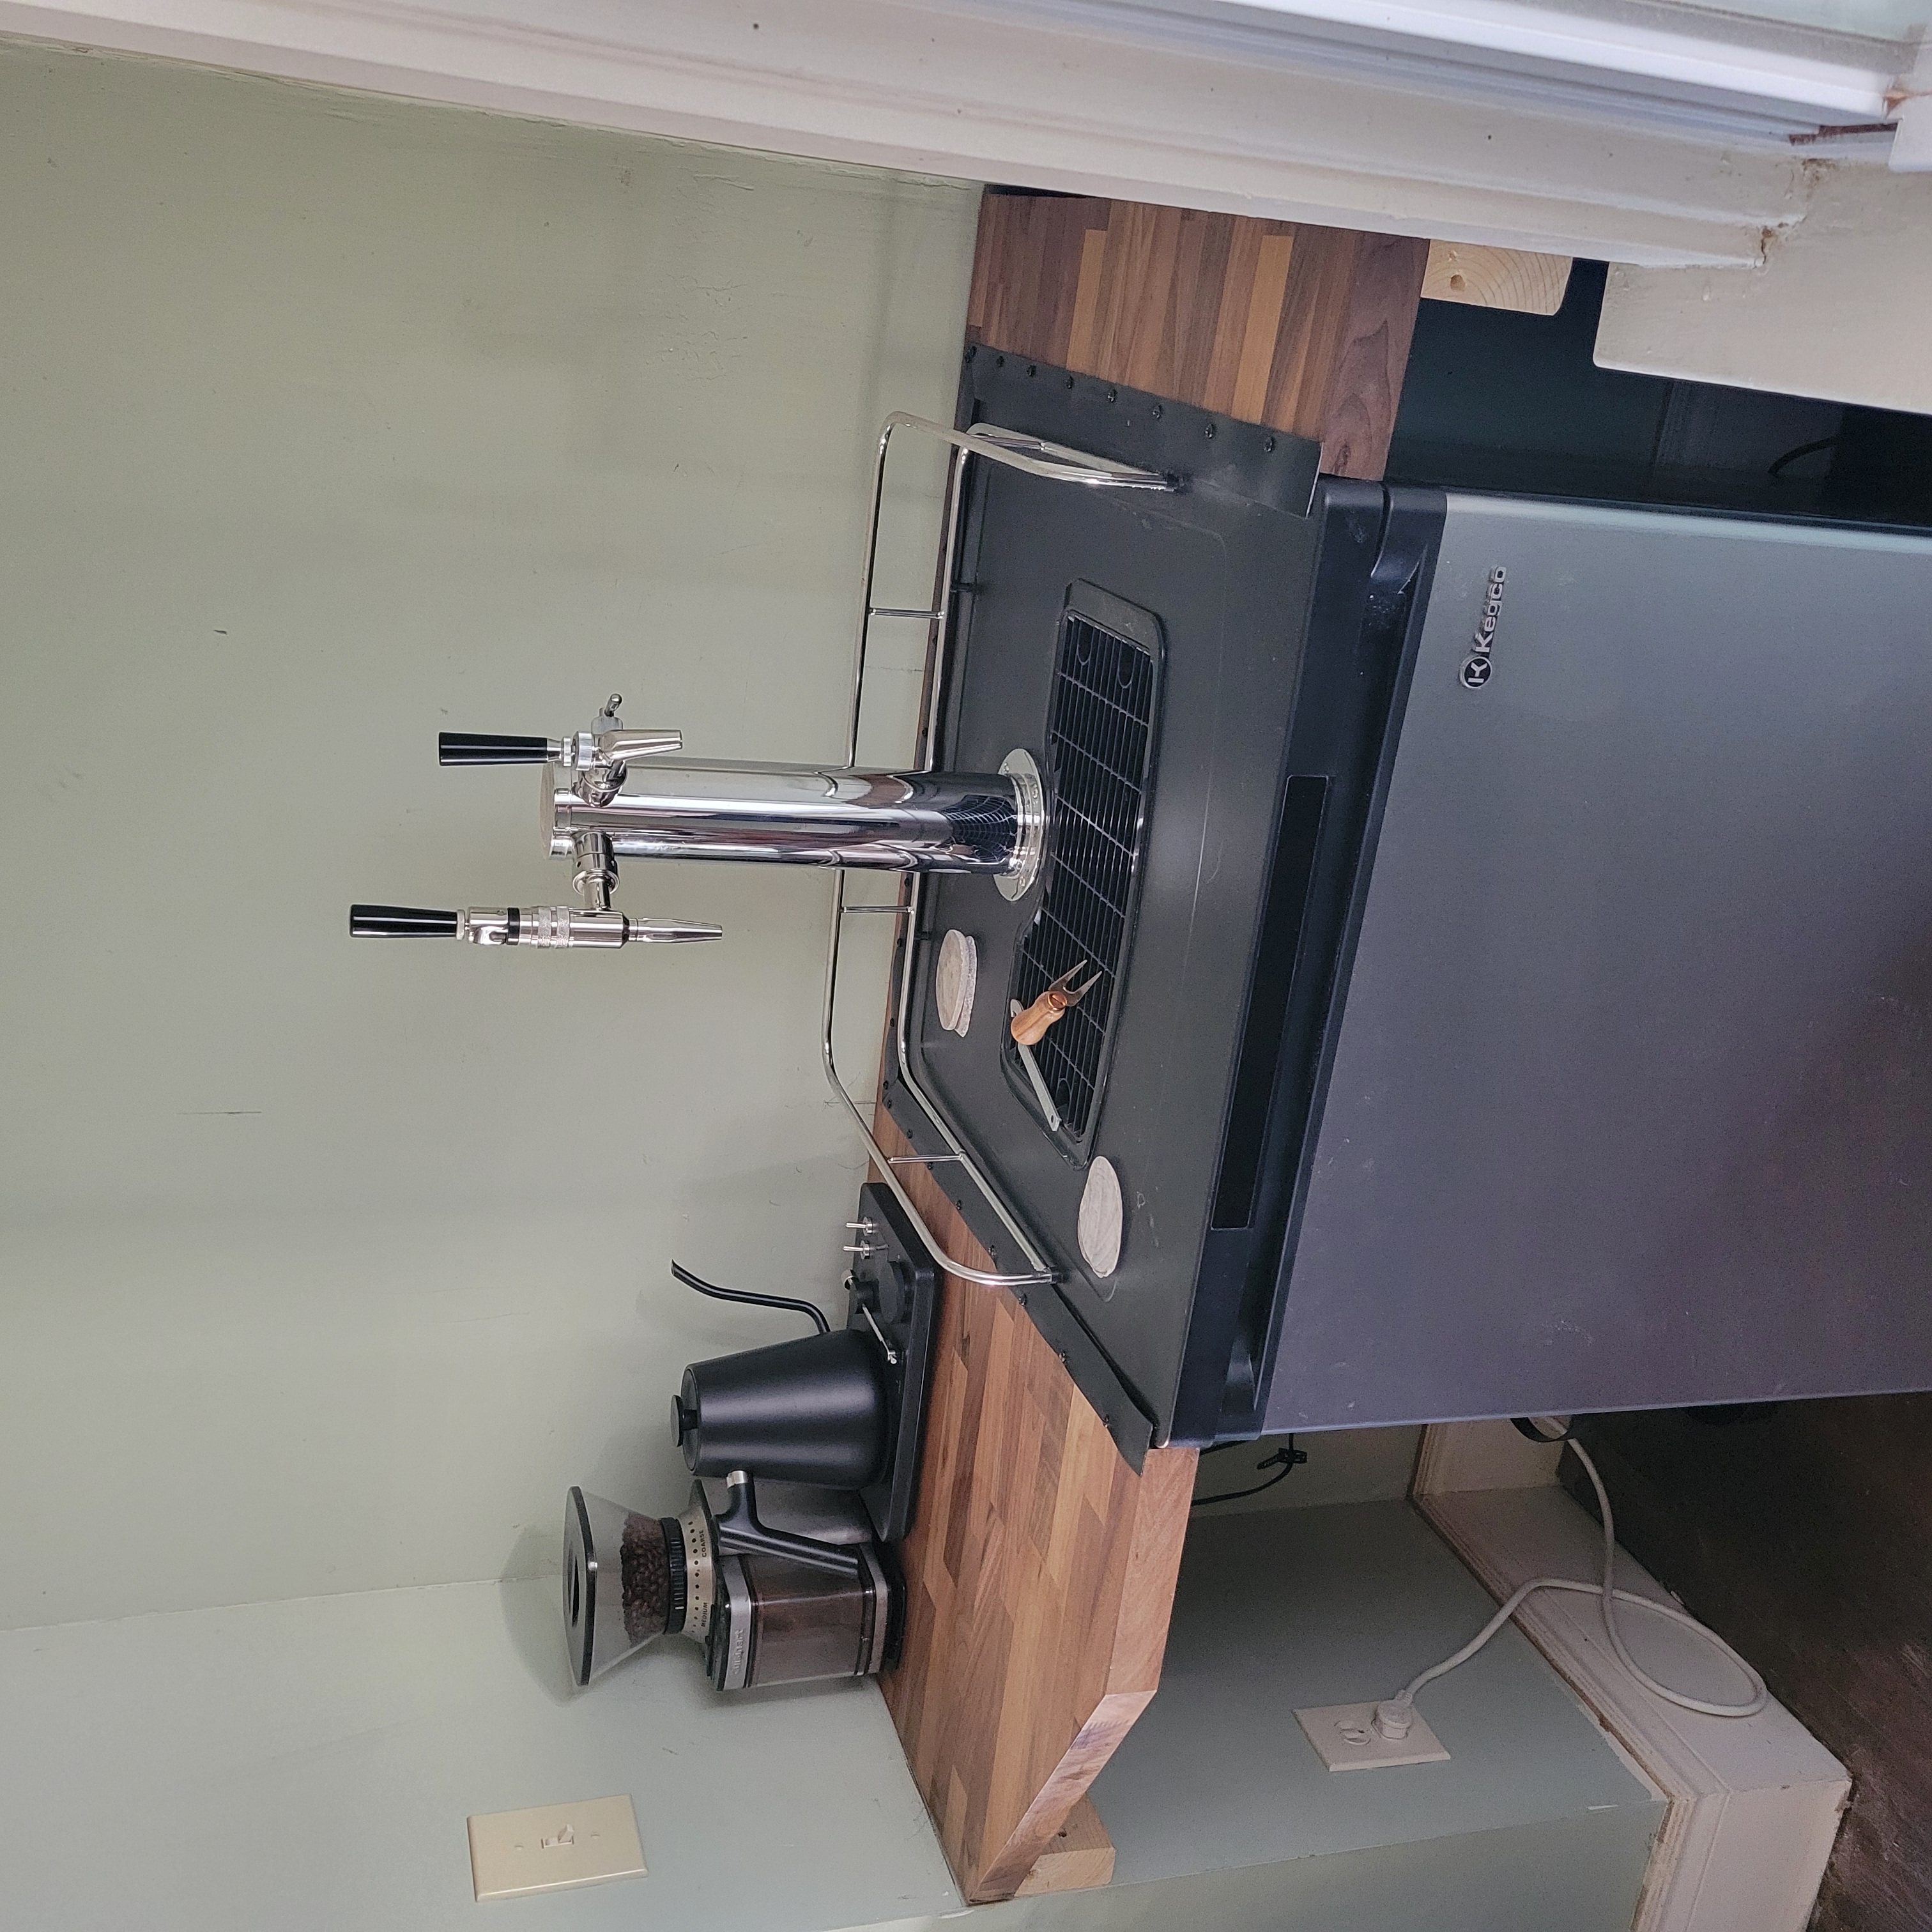
The bartop taking shape - getting the dimensions right to fit over the kegorator.
I built the frame to overhang the fridge slightly on all sides, giving it more of a bar feel. The surface needed to be durable enough to handle condensation from cold glasses and the occasional spill.
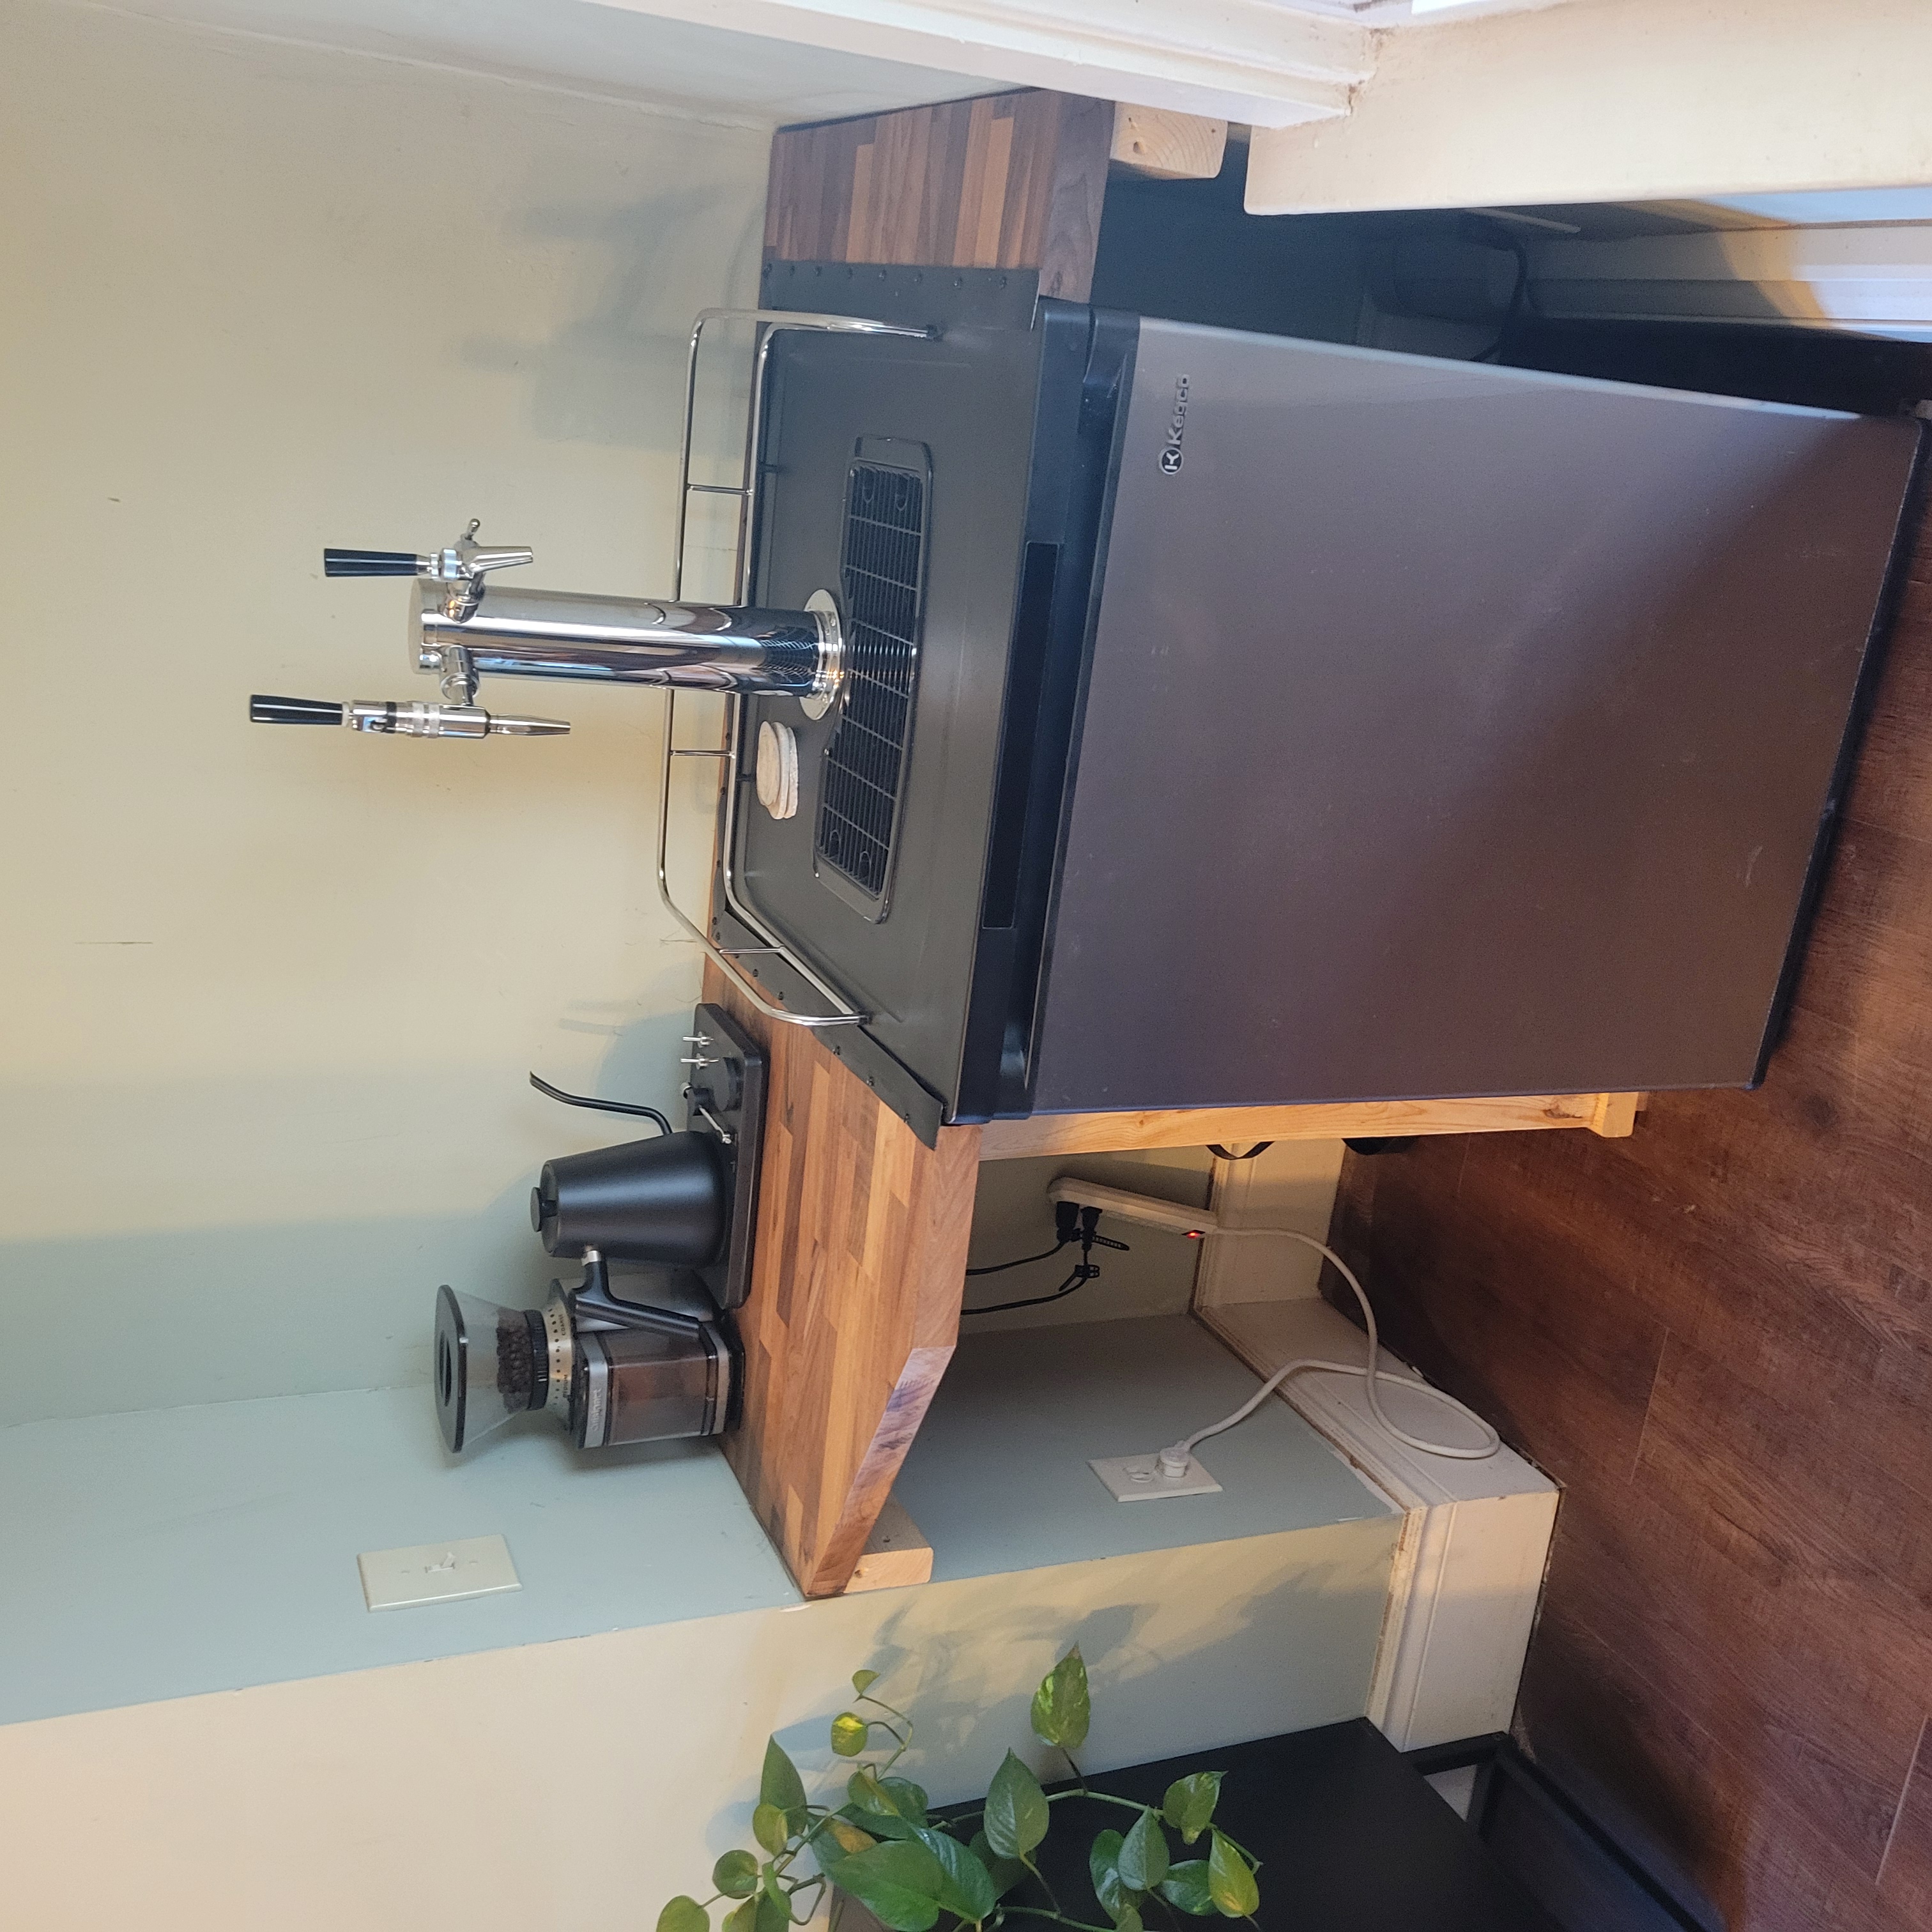
Finishing work on the bartop surface.
Final Assembly
The completed kegorator ready for its first pour.
By early September, everything was assembled and ready to go. The bartop fits perfectly over the fridge, the tap pulls smoothly, and the whole setup looks way better than I expected.
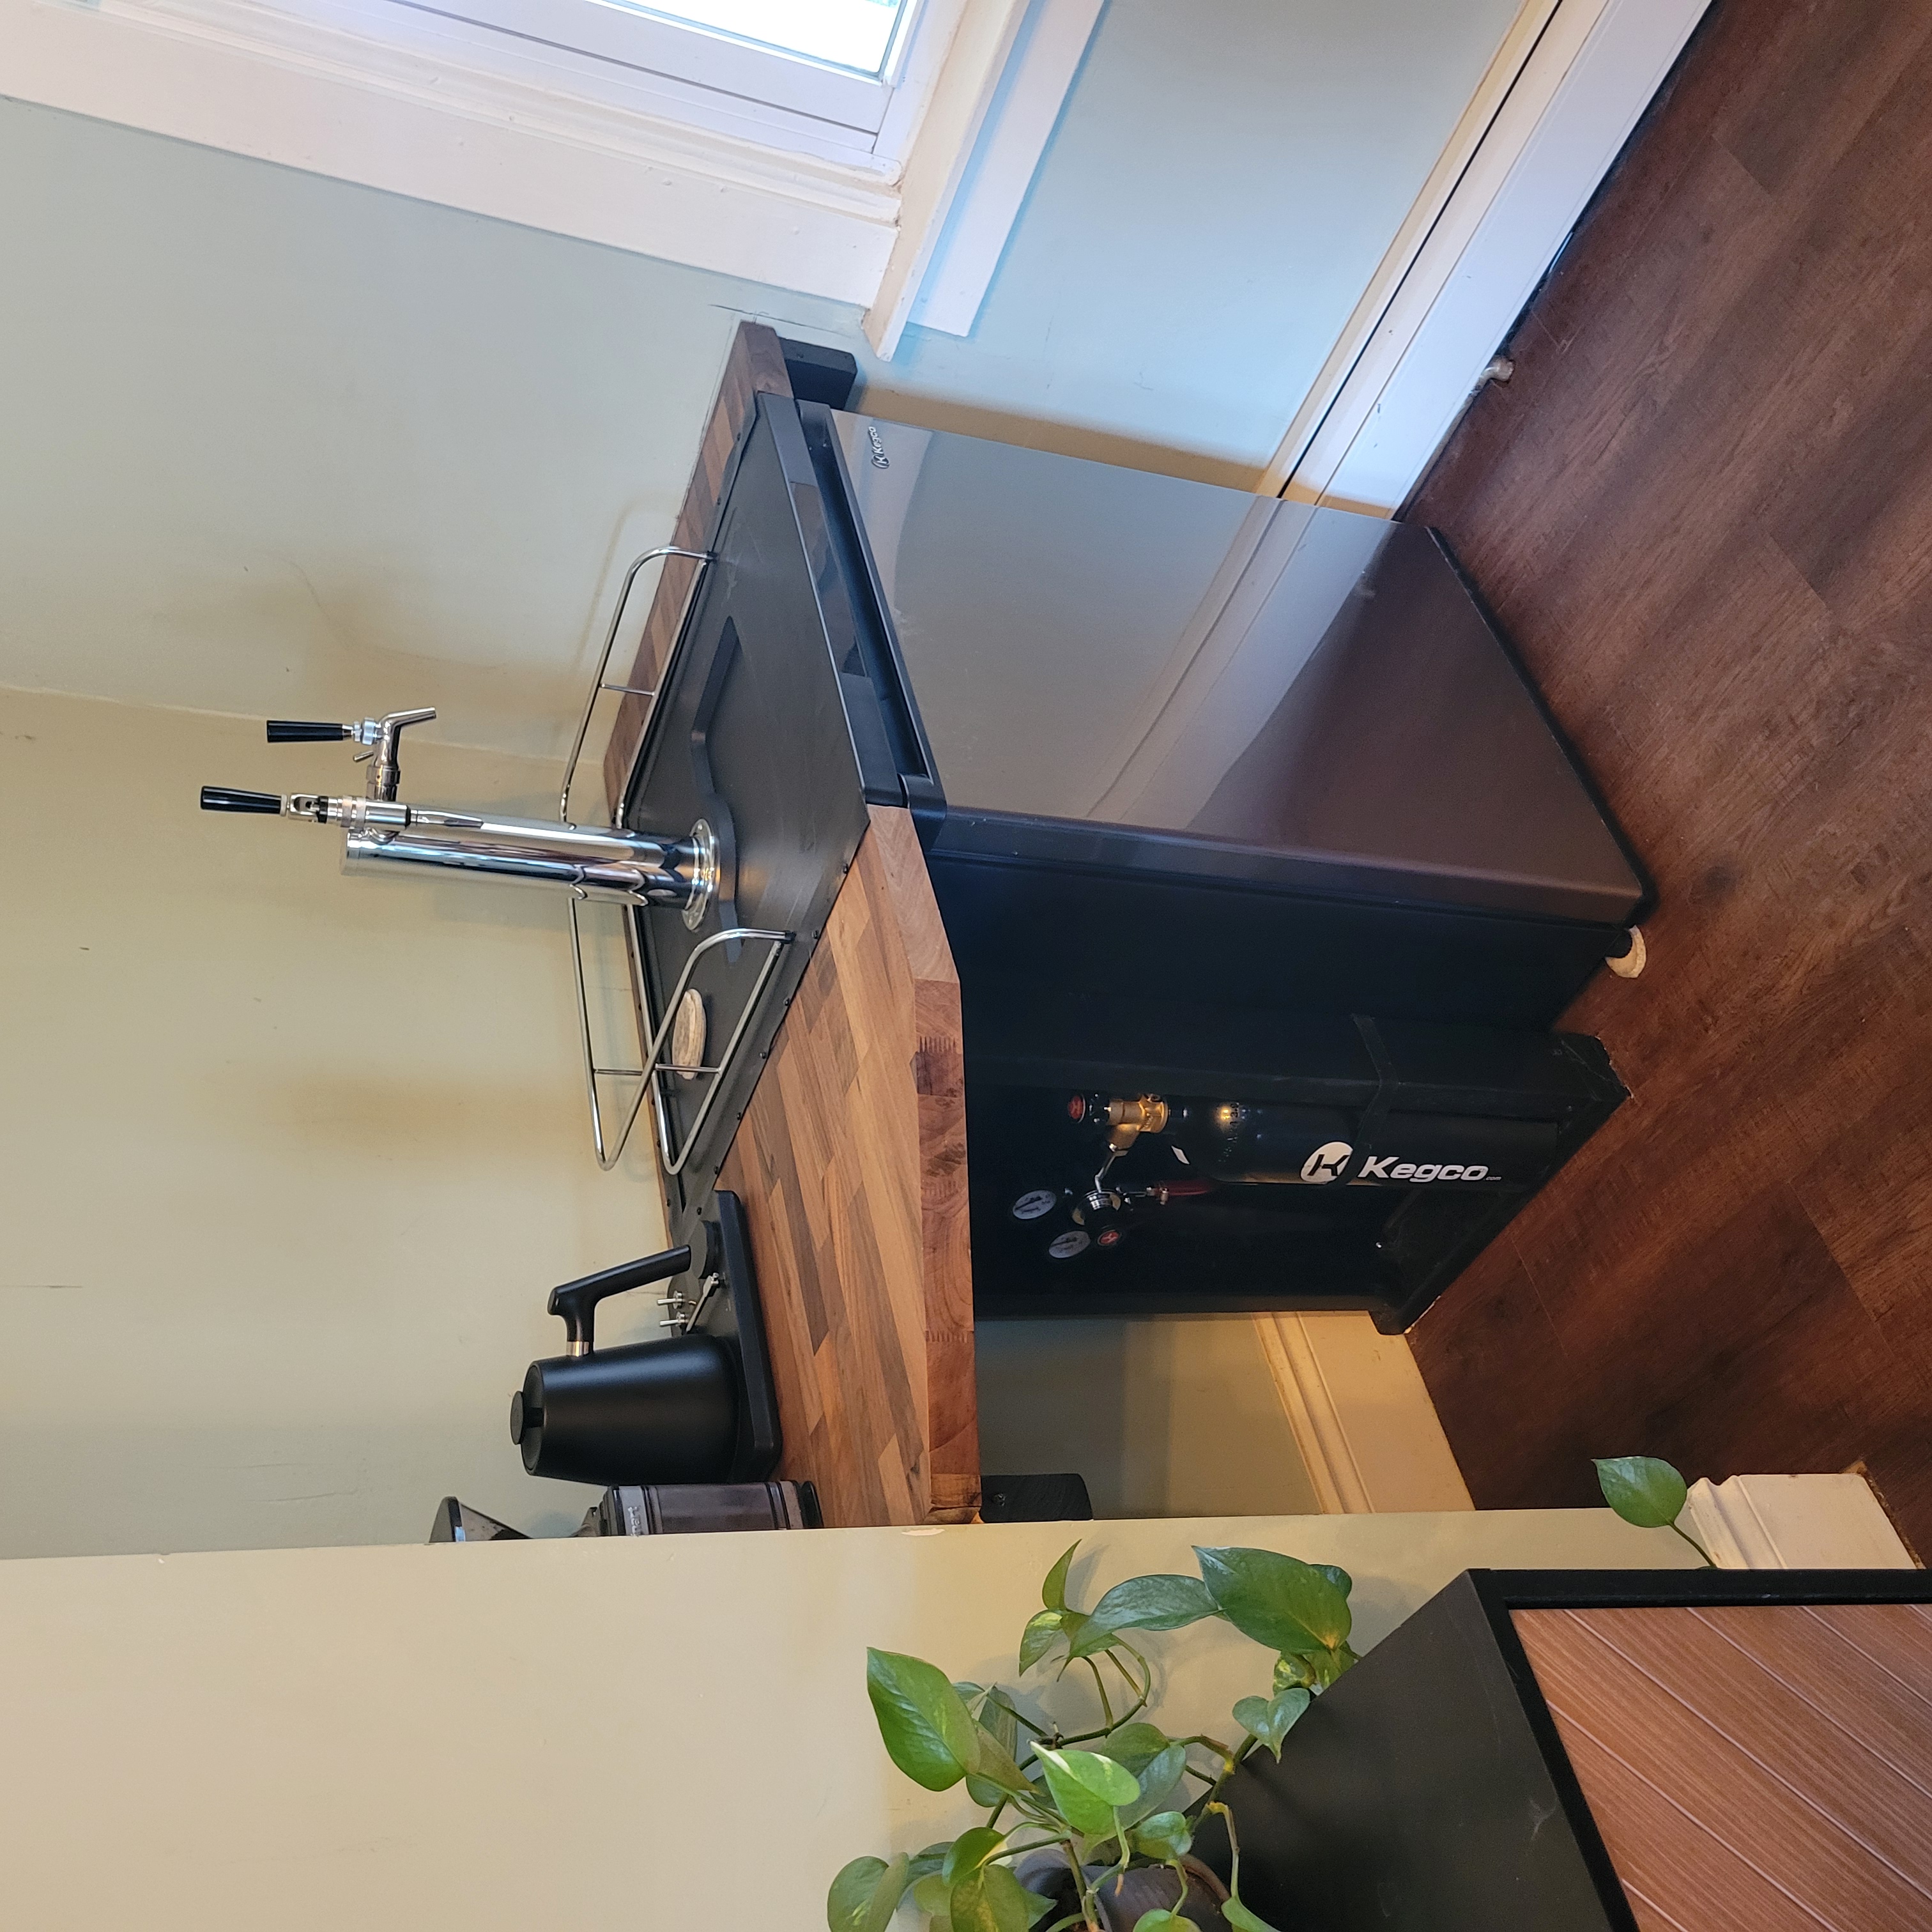
The finished product in its home.
What I Learned
A few takeaways from this build:
- Measure twice, cut once - especially important when the bartop needs to fit precisely over the fridge
- Seal everything - the bartop sees a lot of moisture, so proper sealing is essential
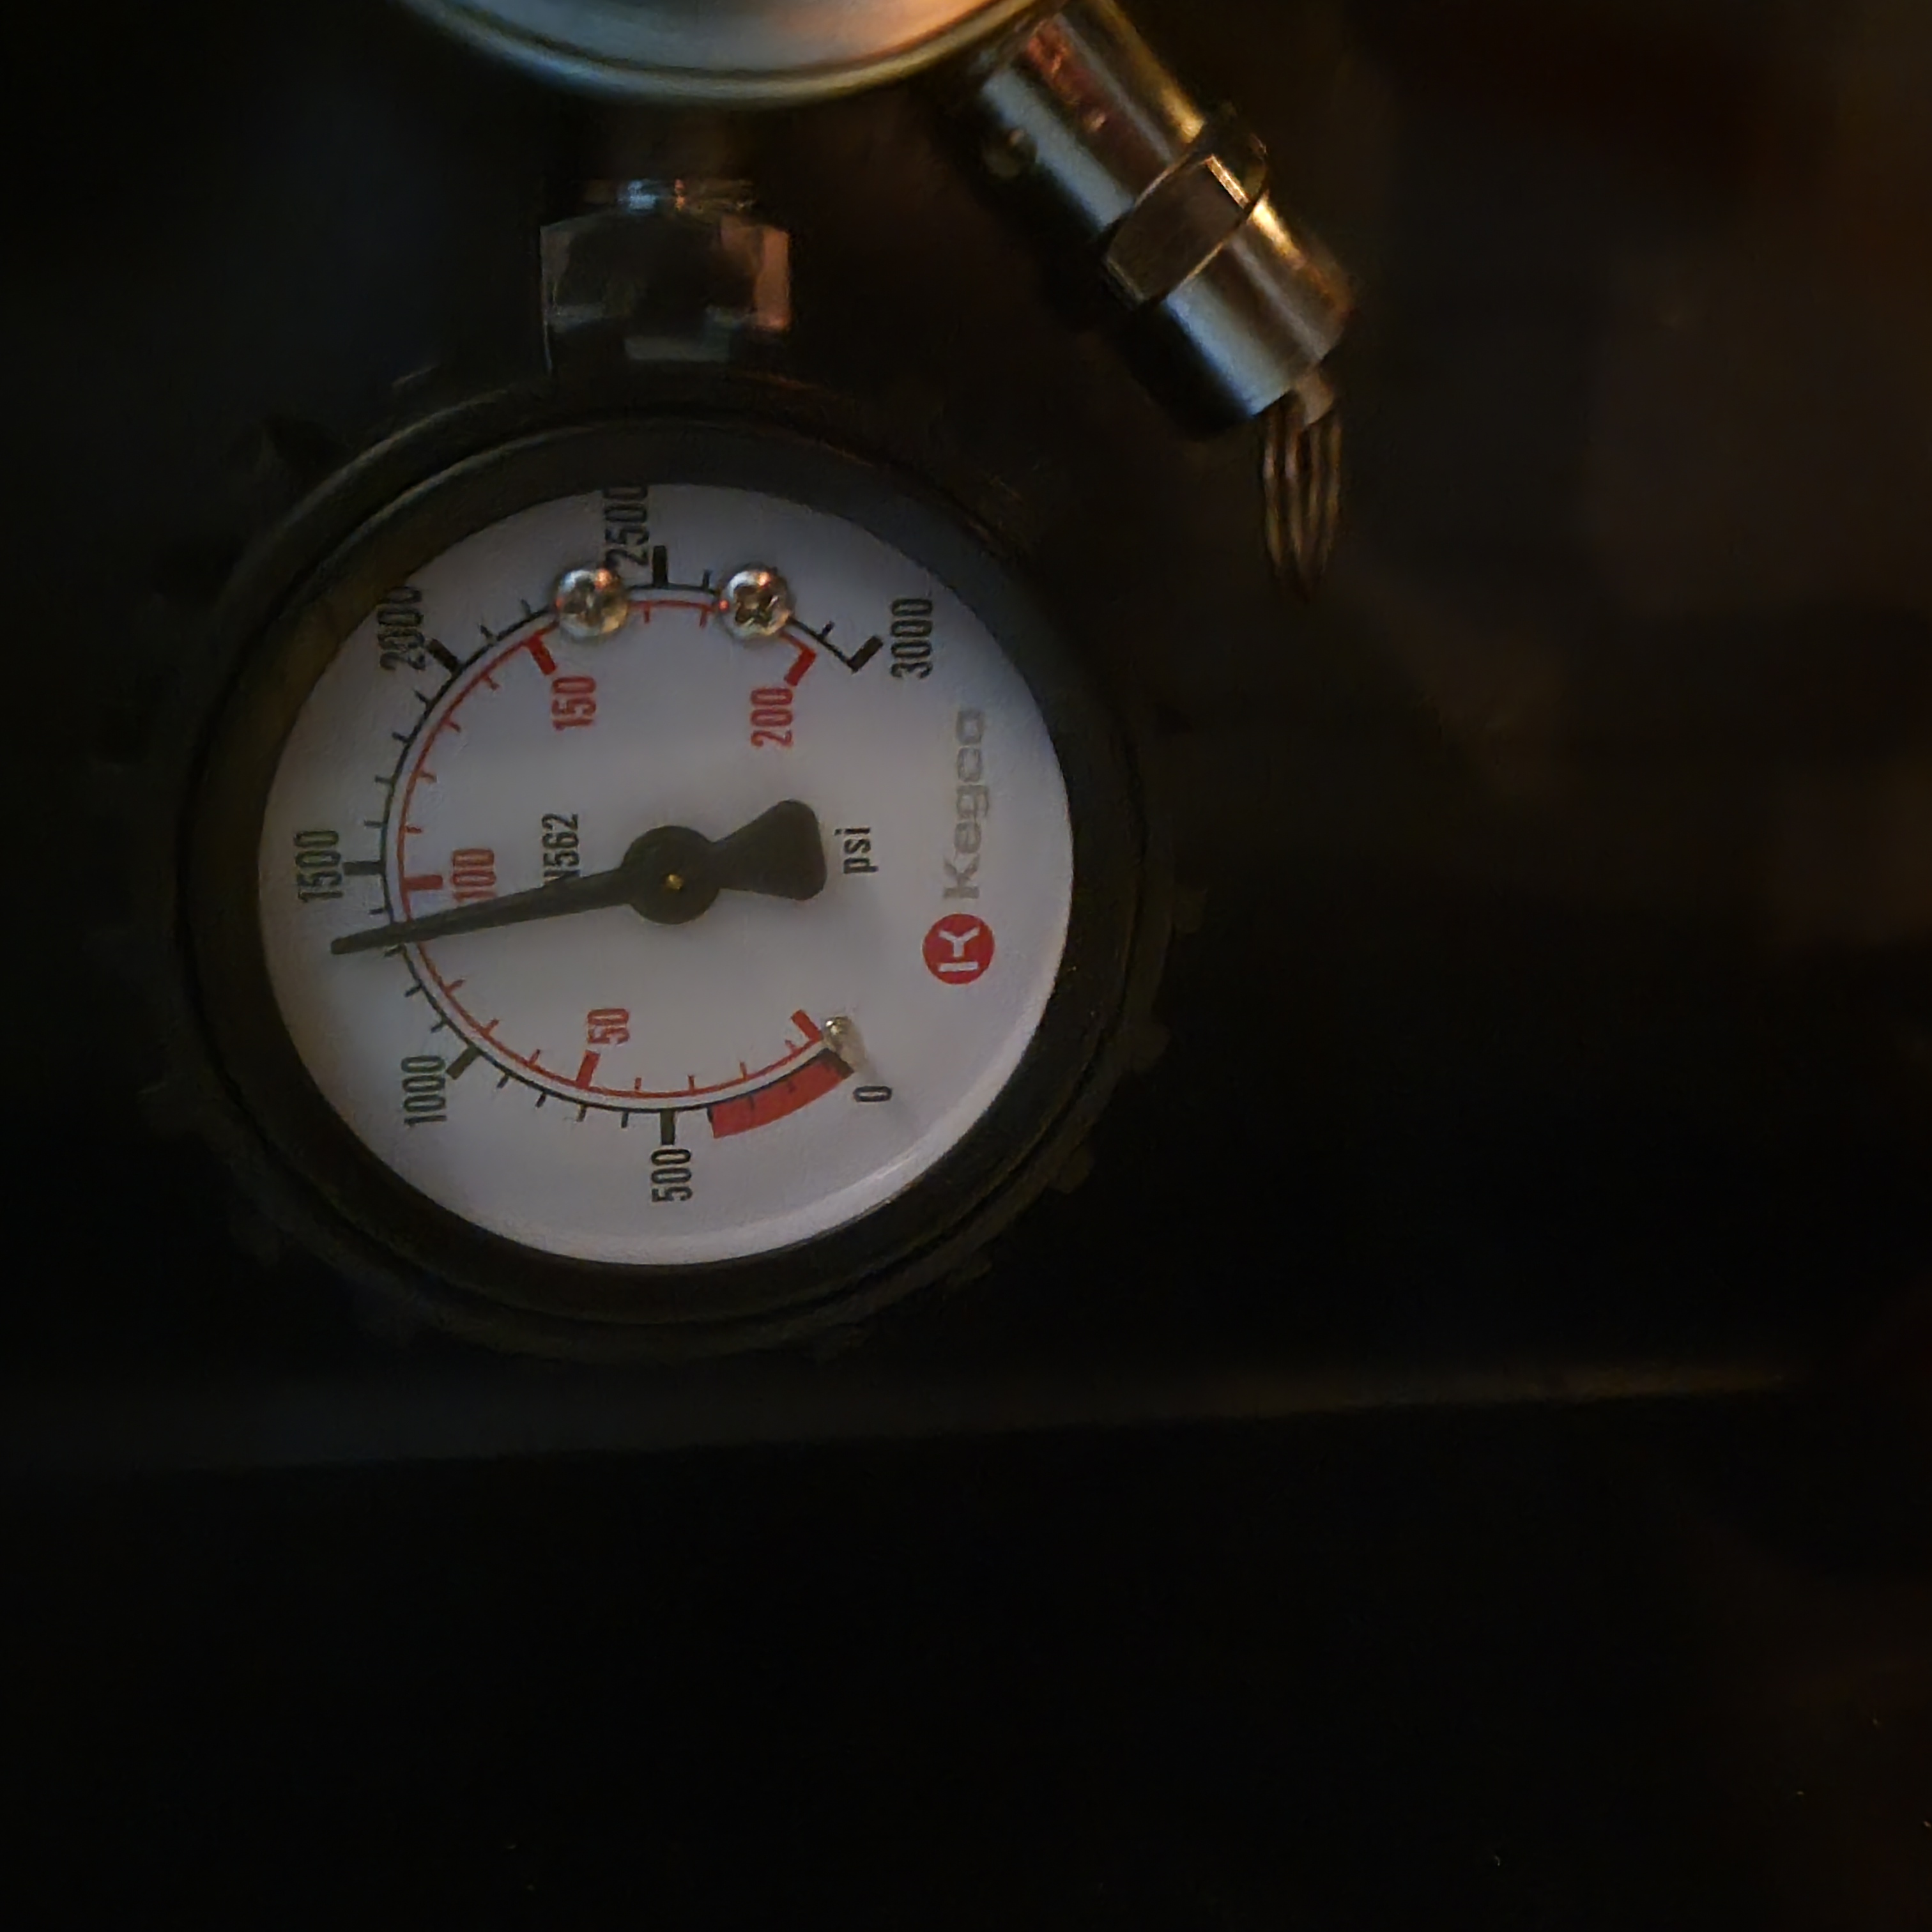
- Plan for CO2 access - you need to be able to reach the regulator and tank without disassembling everything
The kegorator has been running great since completion. There’s something satisfying about pouring a proper pint from your own tap, especially when you built the whole setup yourself.