Quarter Rings
Content
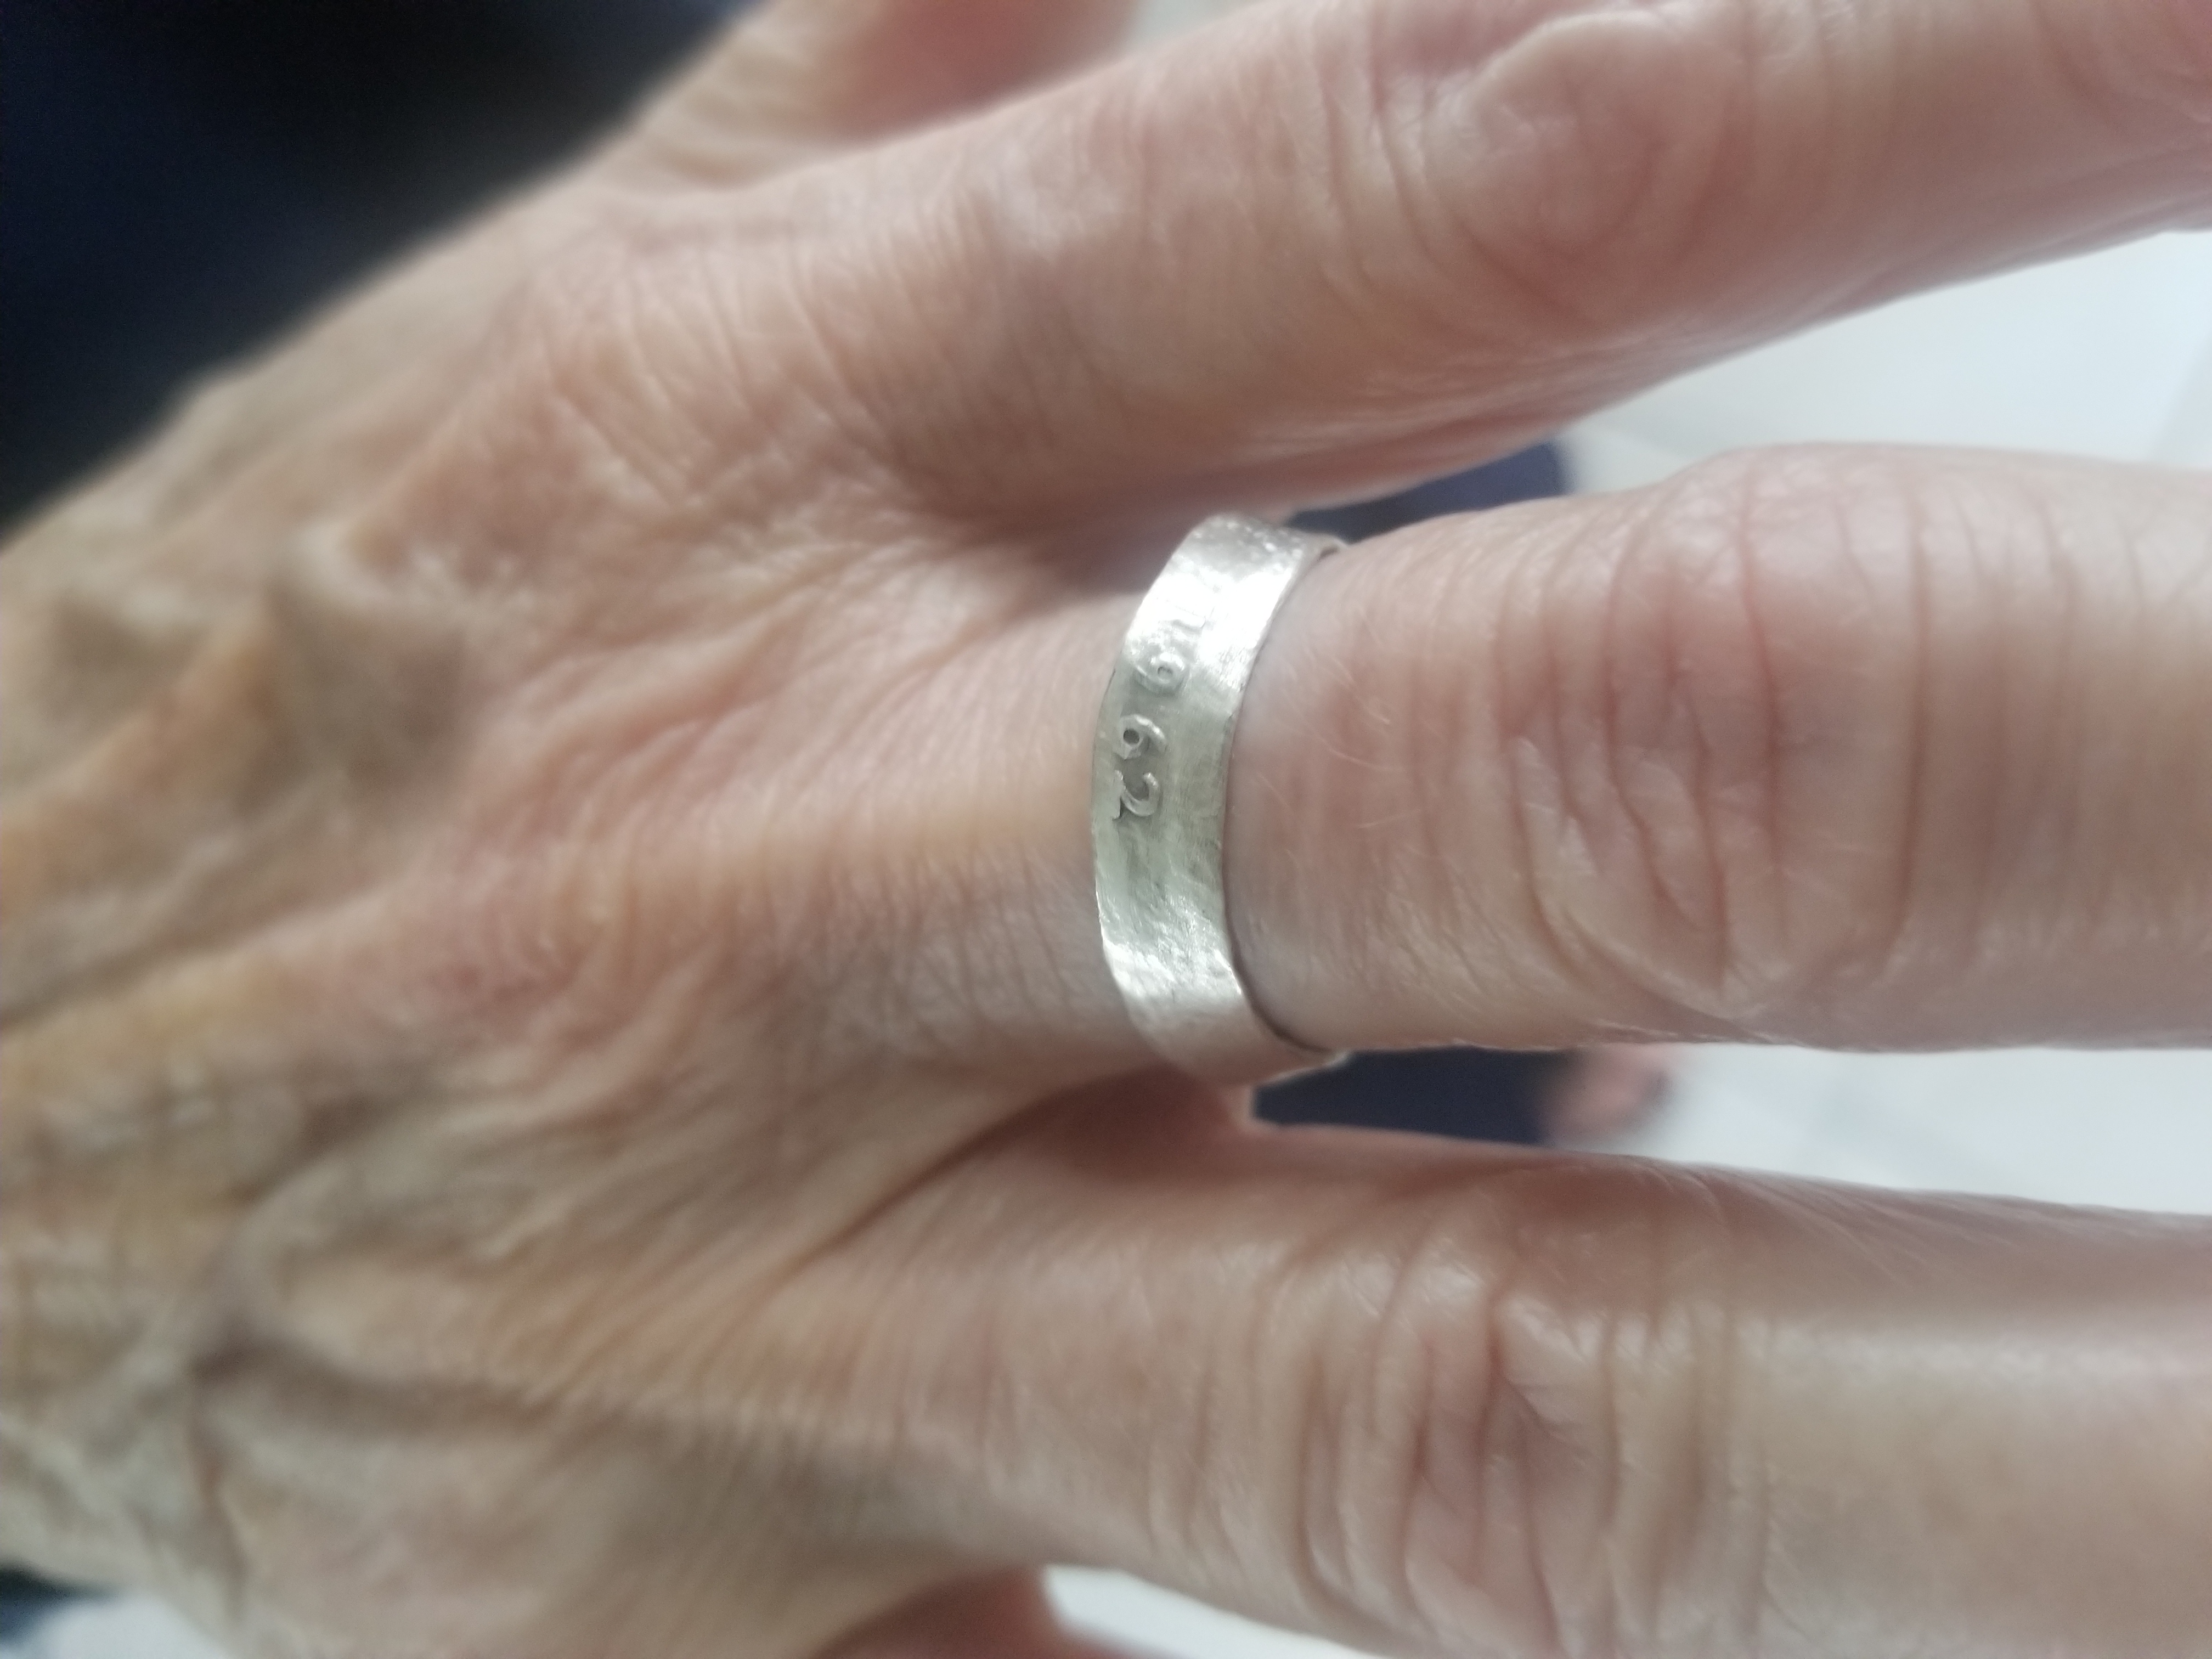
This project involves converting US quarters into wearable rings through a process of repeated hammering and shaping. The technique preserves the lettering from the coin’s edge (including “E PLURIBUS UNUM” and the year) on the outside of the finished ring.
Materials
- US quarters (pre-1965 for silver content, or newer clad quarters)
- Ball-peen hammer or spoon
- Ring mandrel or dowel rod
- Drill with various bits for center hole
- Files and sandpaper (various grits)
- Polishing compound (optional)
Build Process
The process starts by drilling a small hole in the center of the quarter. This hole is gradually enlarged using progressively larger drill bits until the center is completely removed, leaving just the outer ring of the coin.
The coin is then placed on a mandrel and repeatedly tapped with a hammer while rotating. This slowly folds the metal outward and down, transforming the flat coin edge into a ring shape. The key is patience - thousands of small taps rather than hard blows prevents the metal from cracking.
As the ring takes shape, the metal work-hardens from the hammering. Occasionally annealing (heating and cooling) can help if the metal becomes too stiff, though this isn’t always necessary with the softer copper-nickel clad quarters.
Results
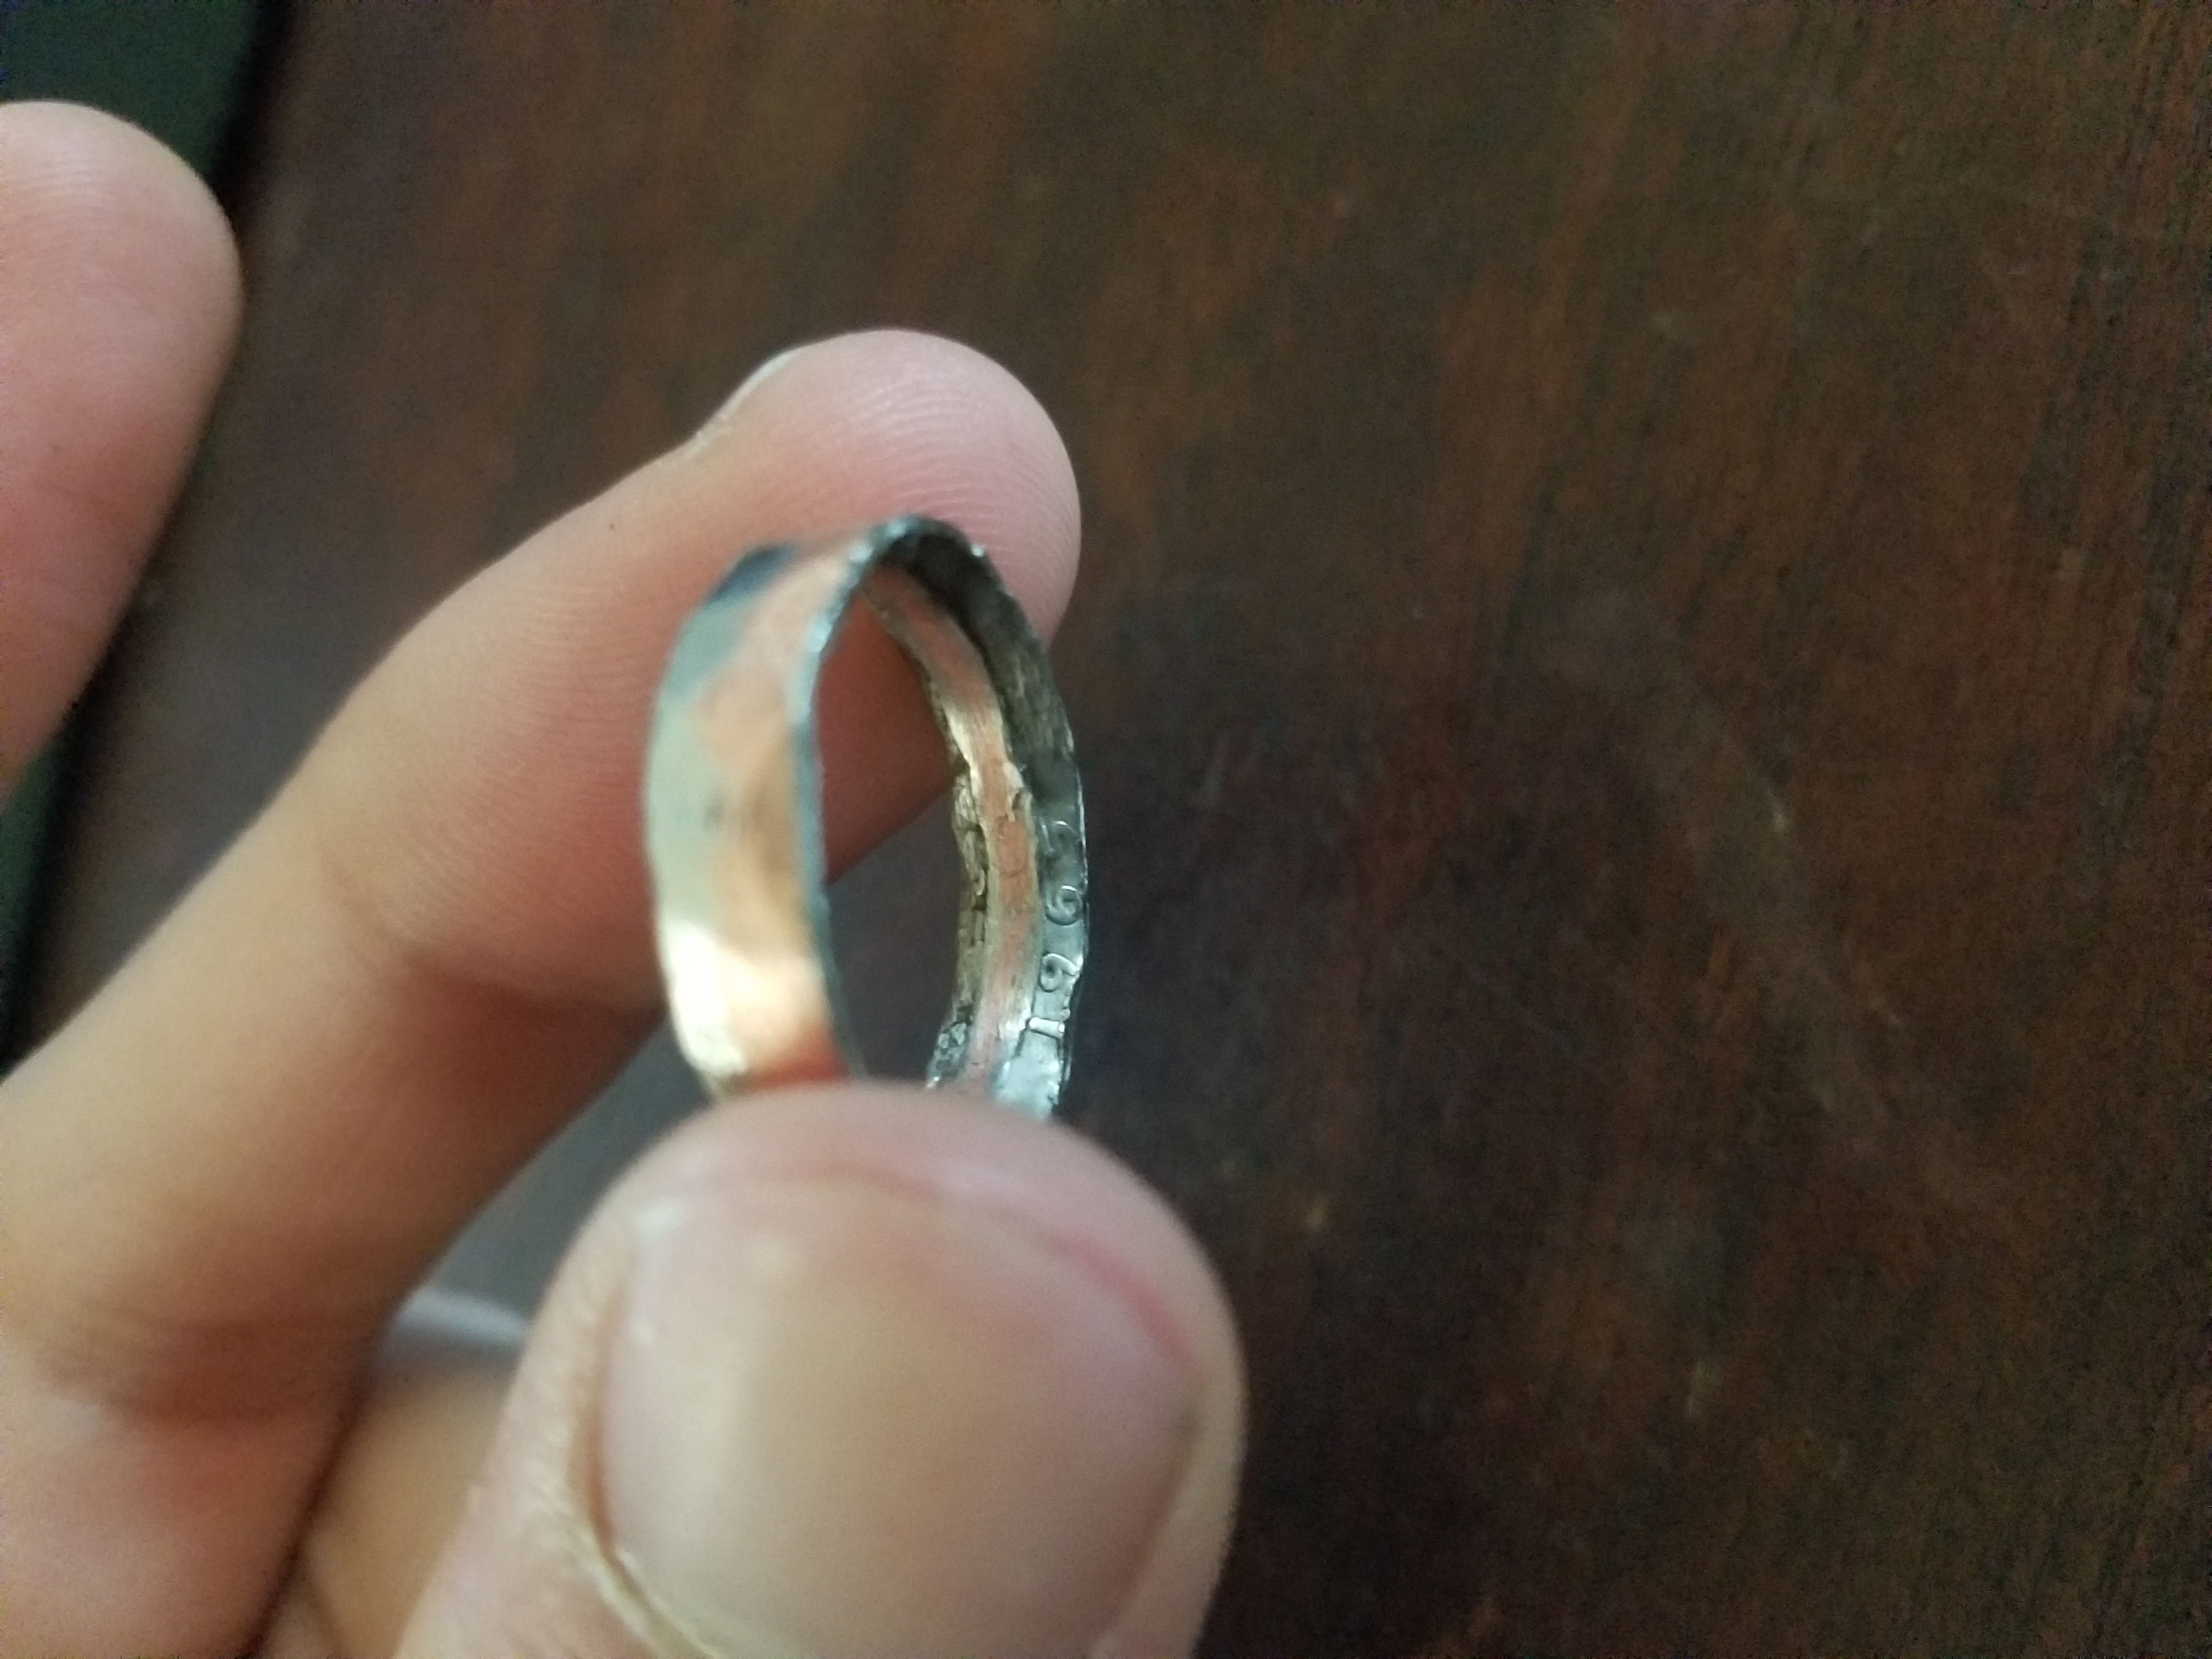
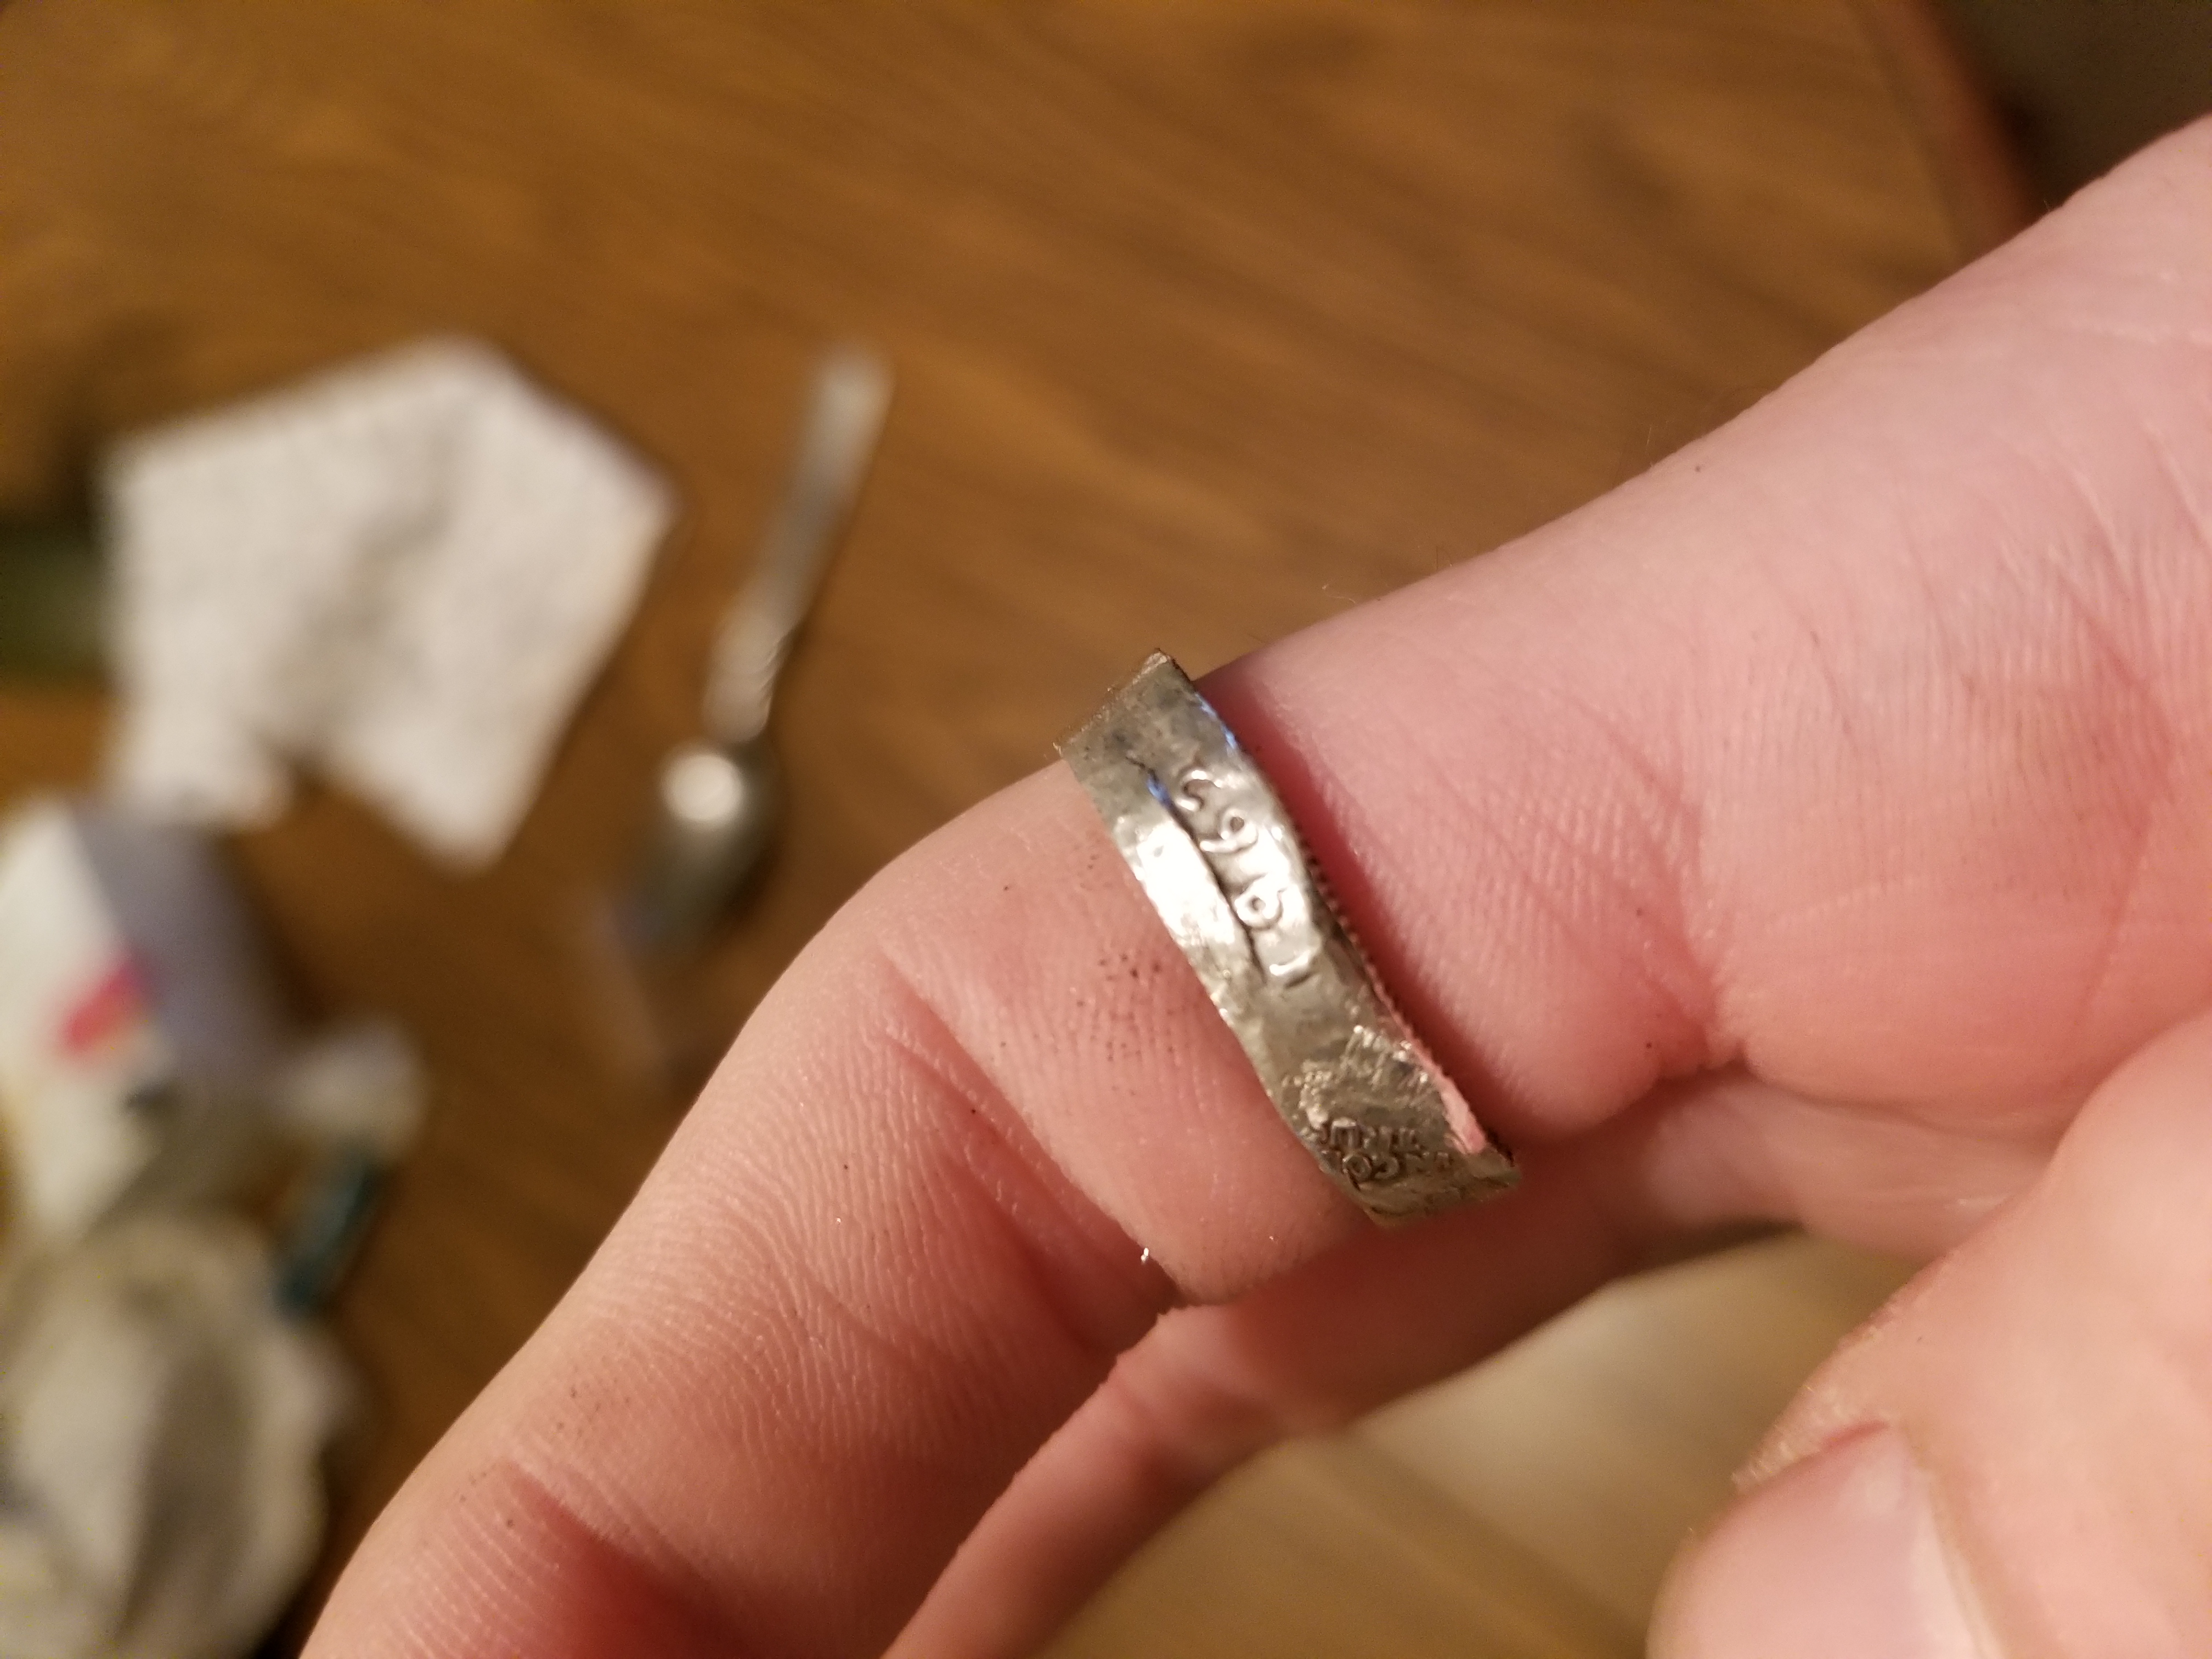
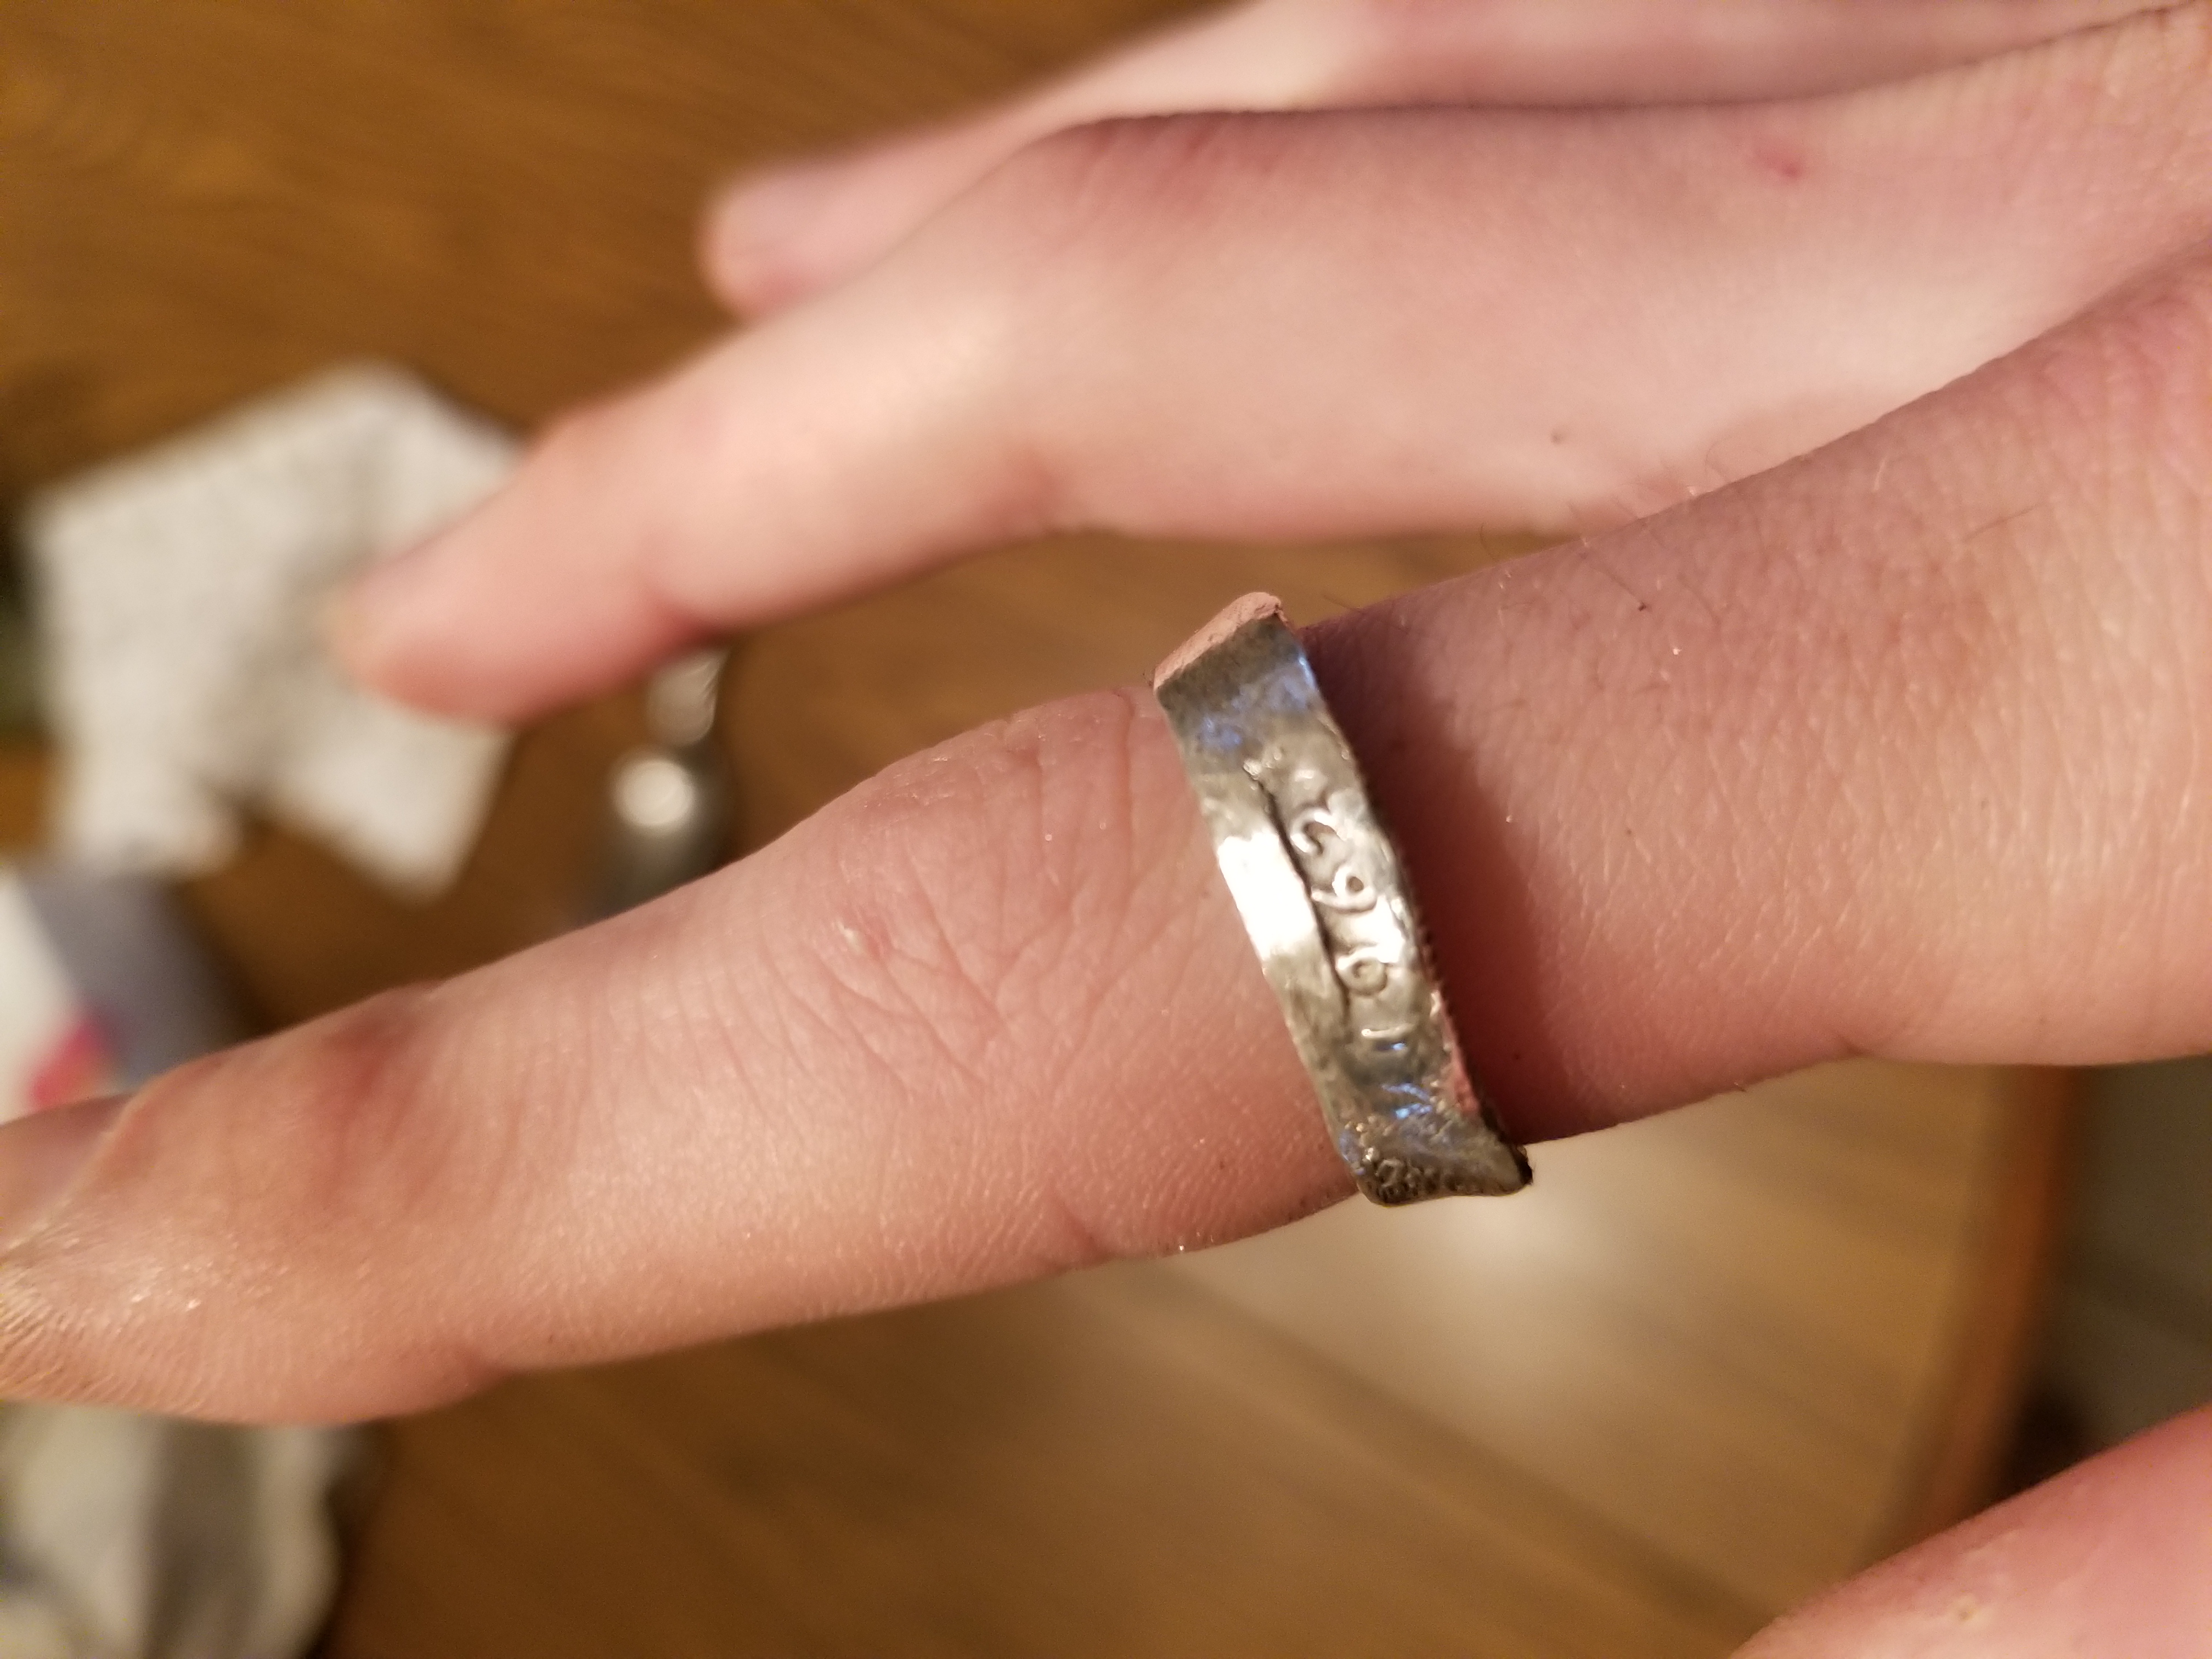
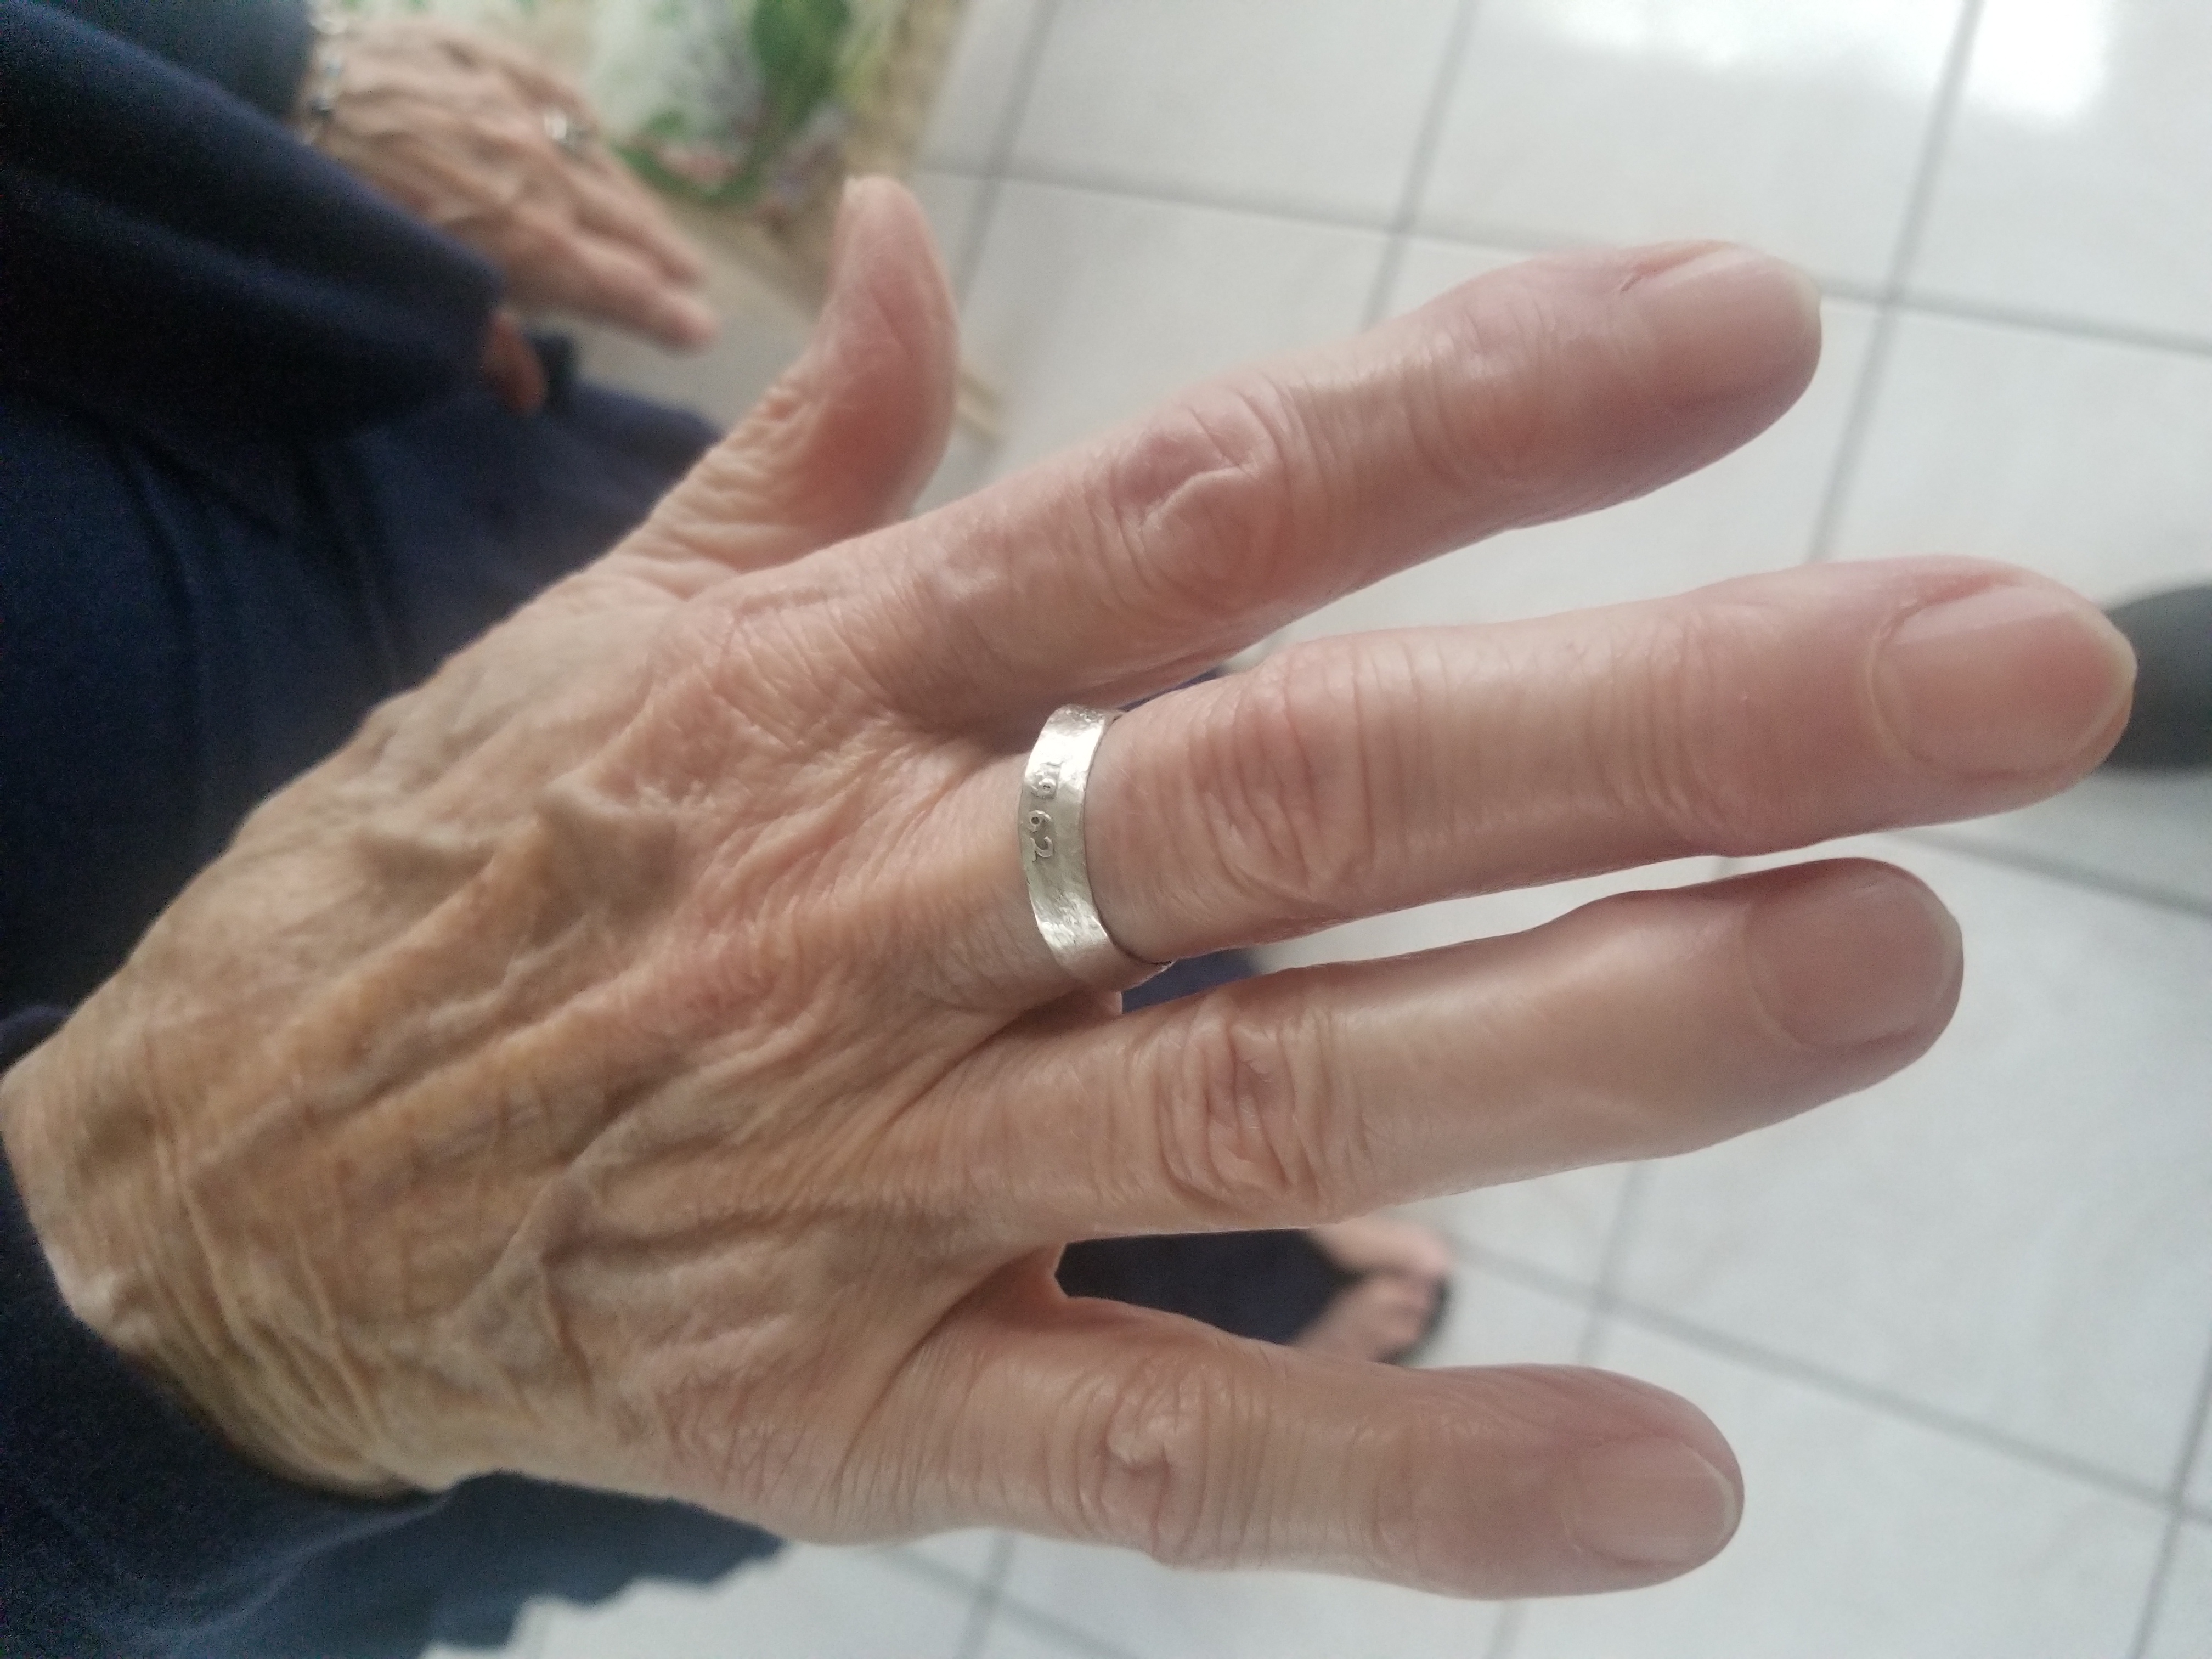
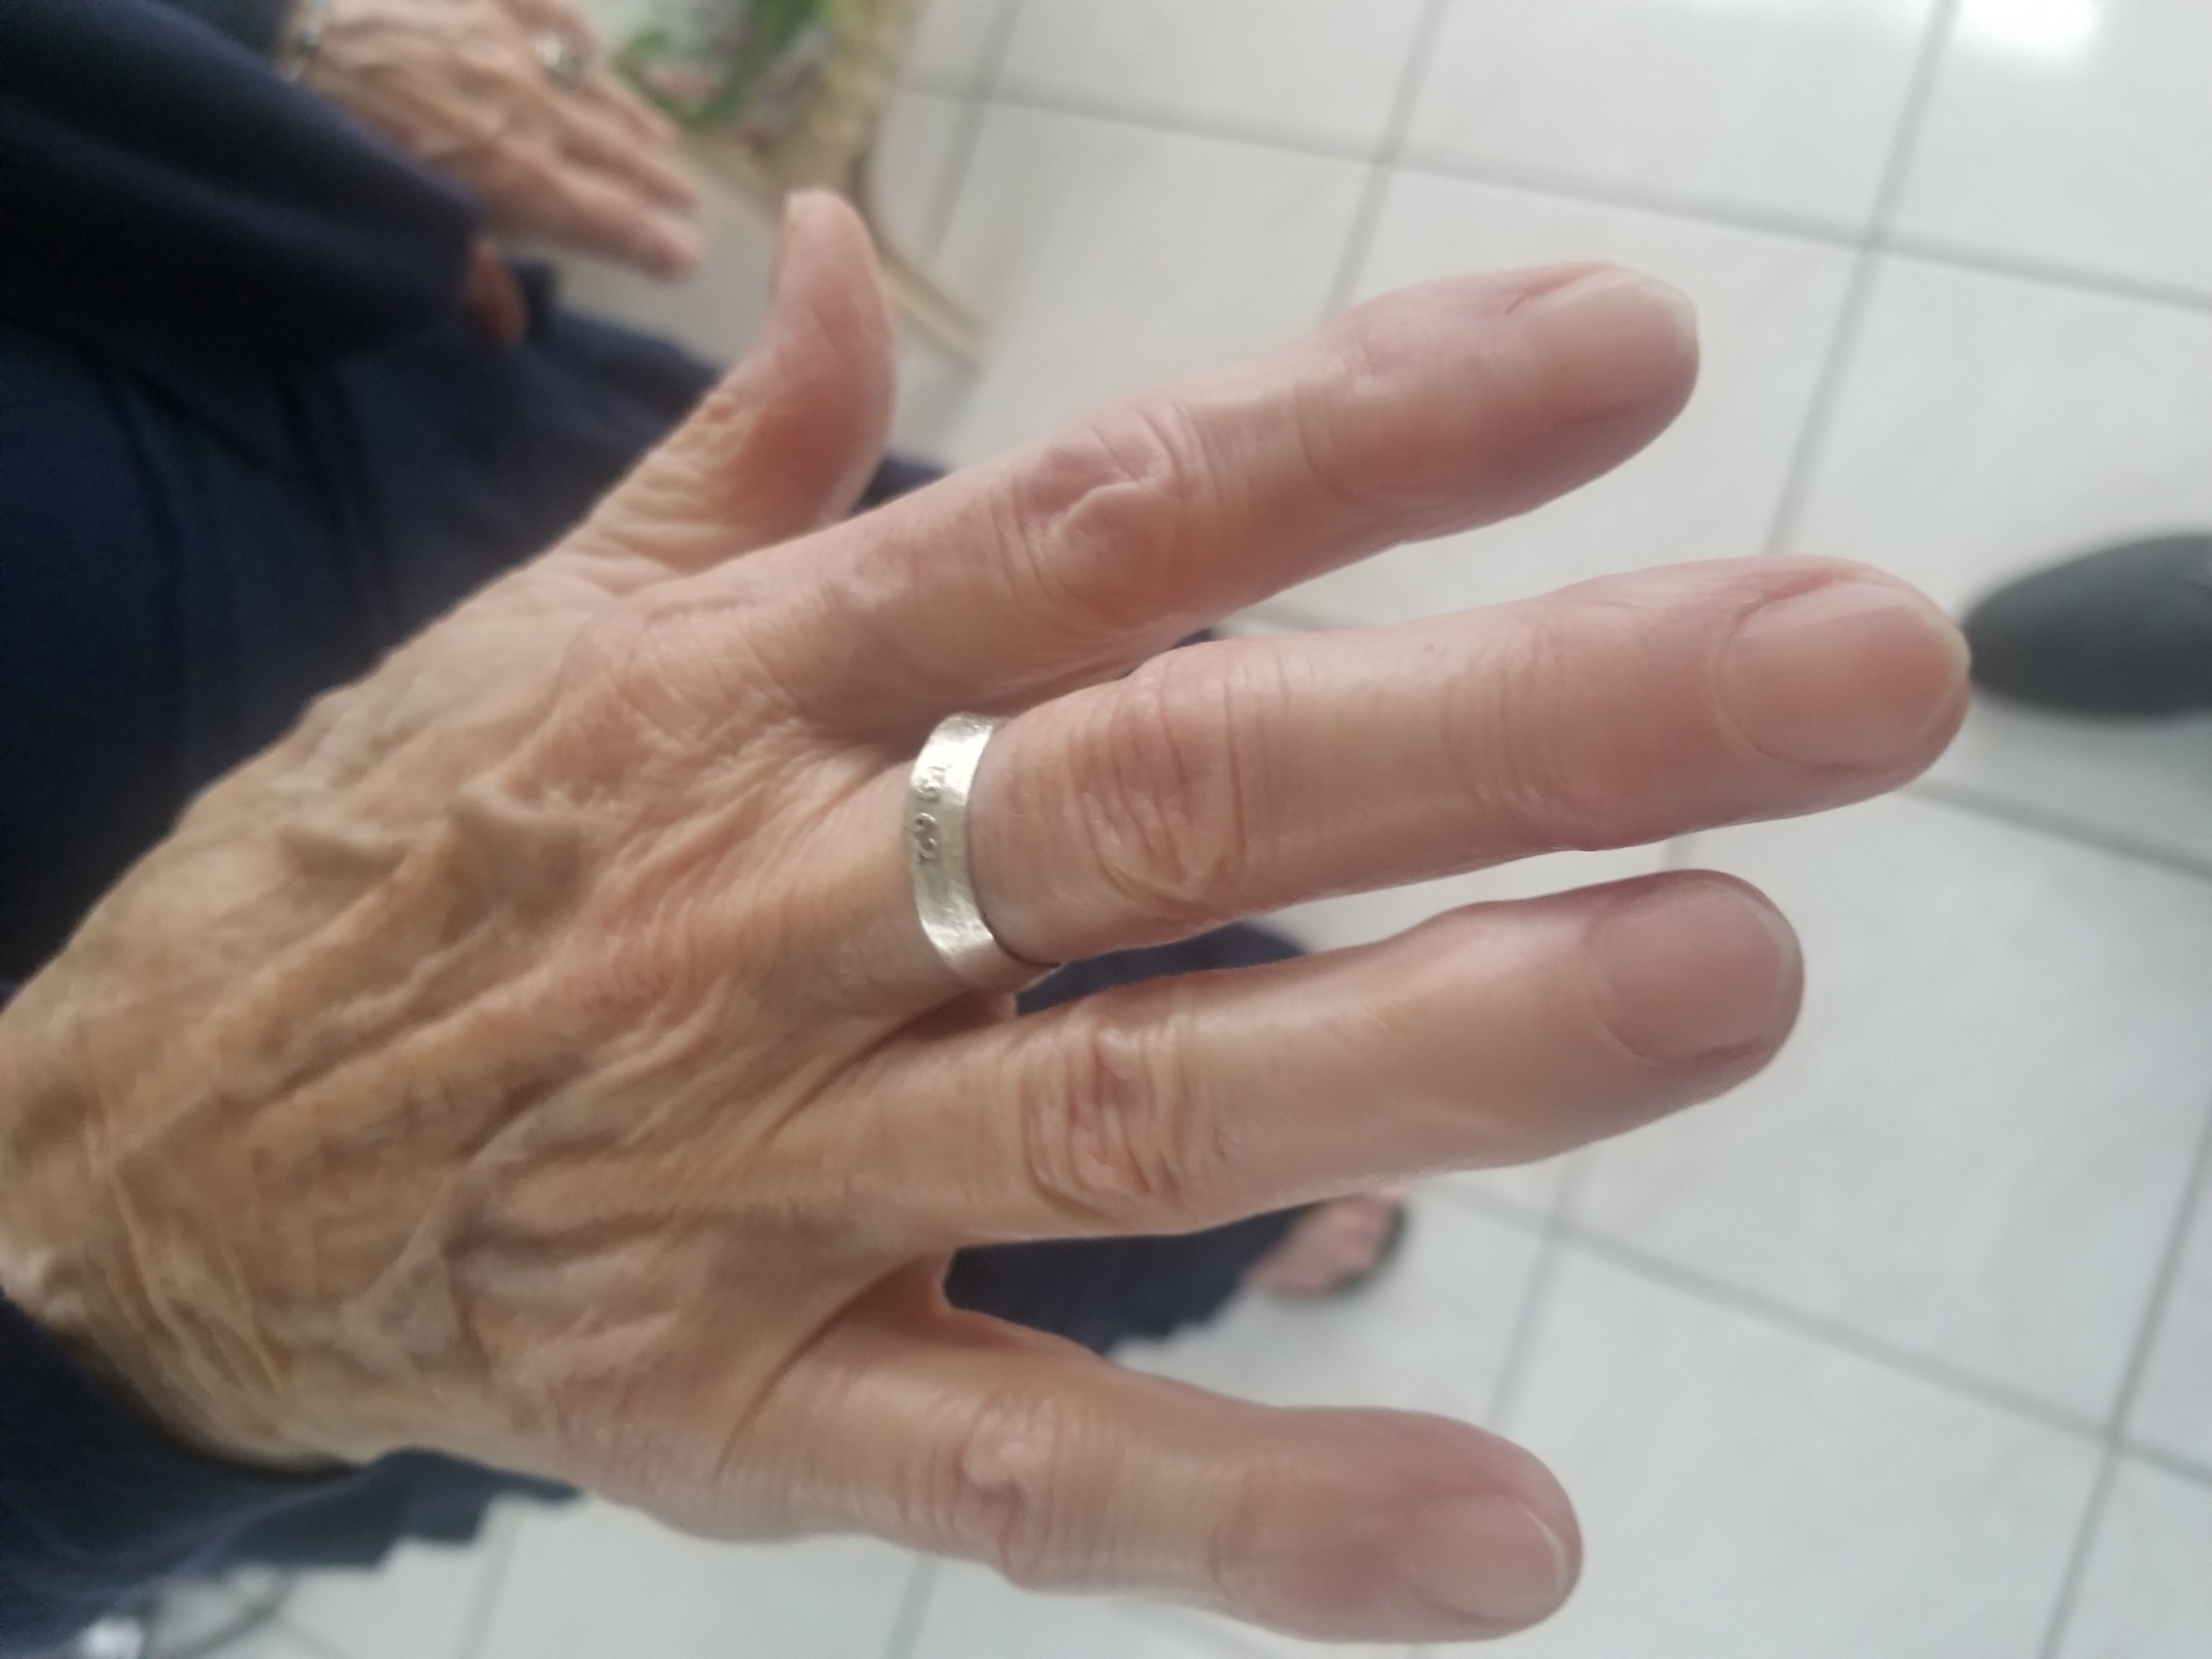
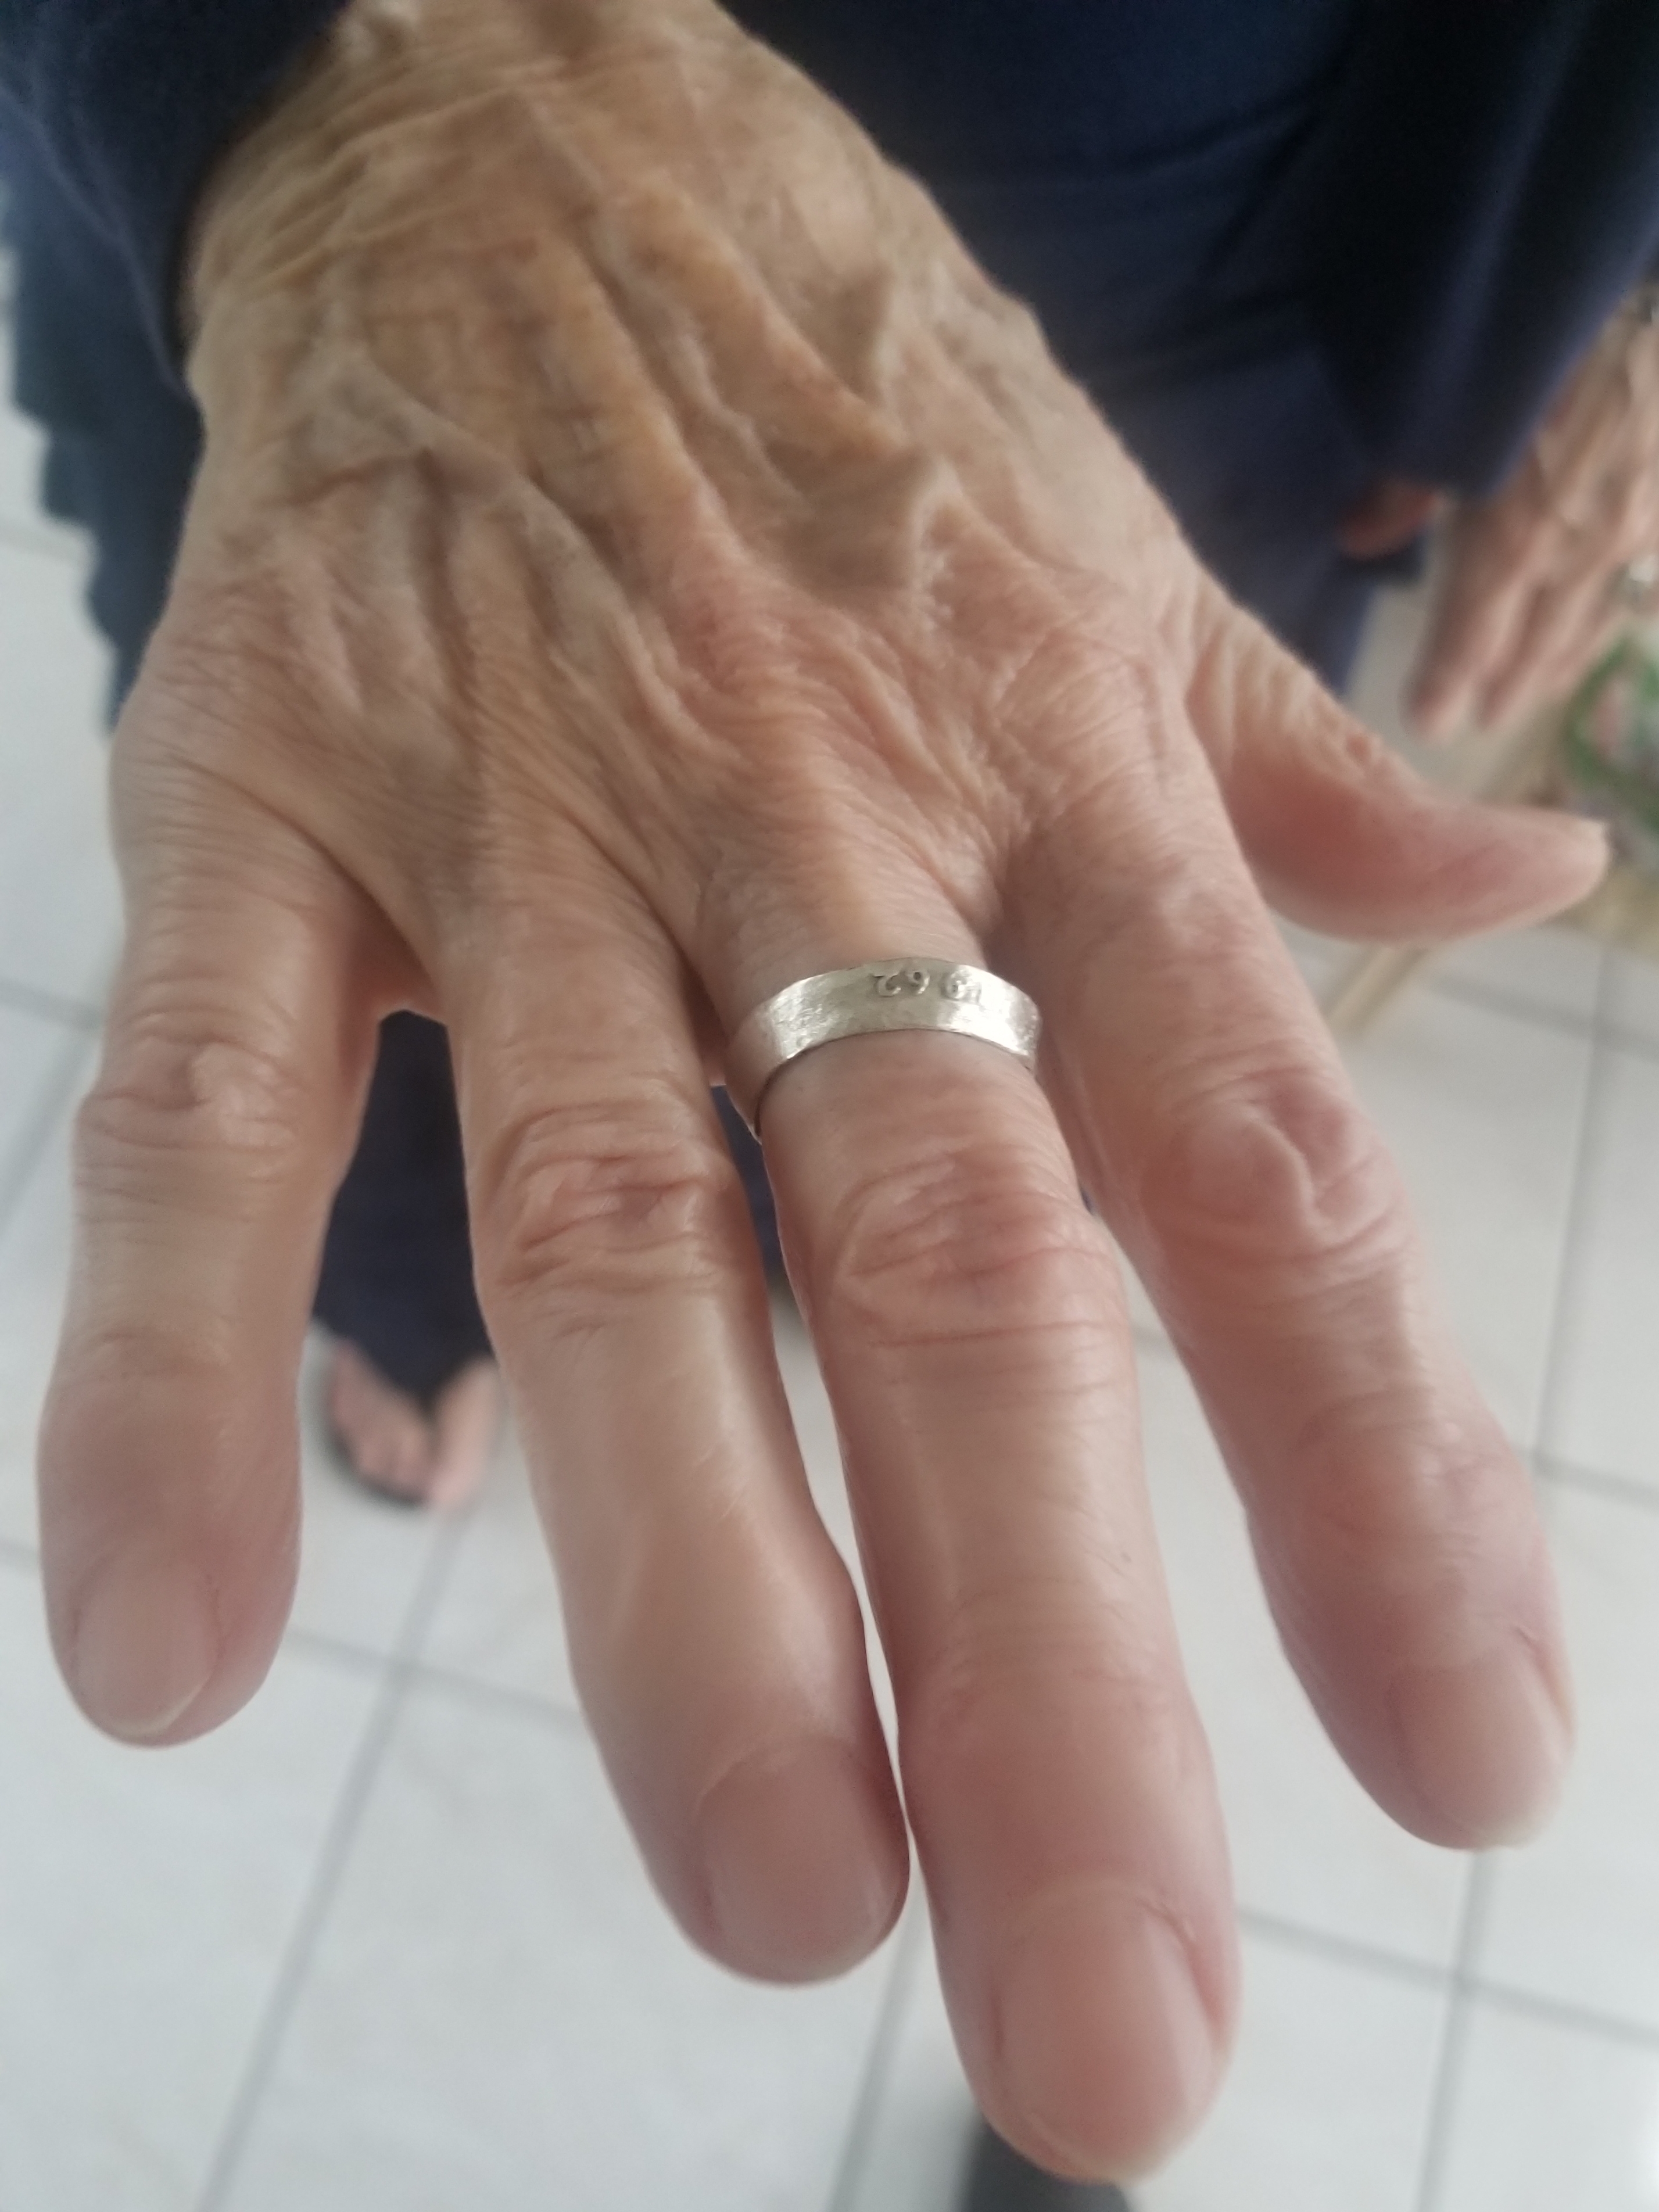
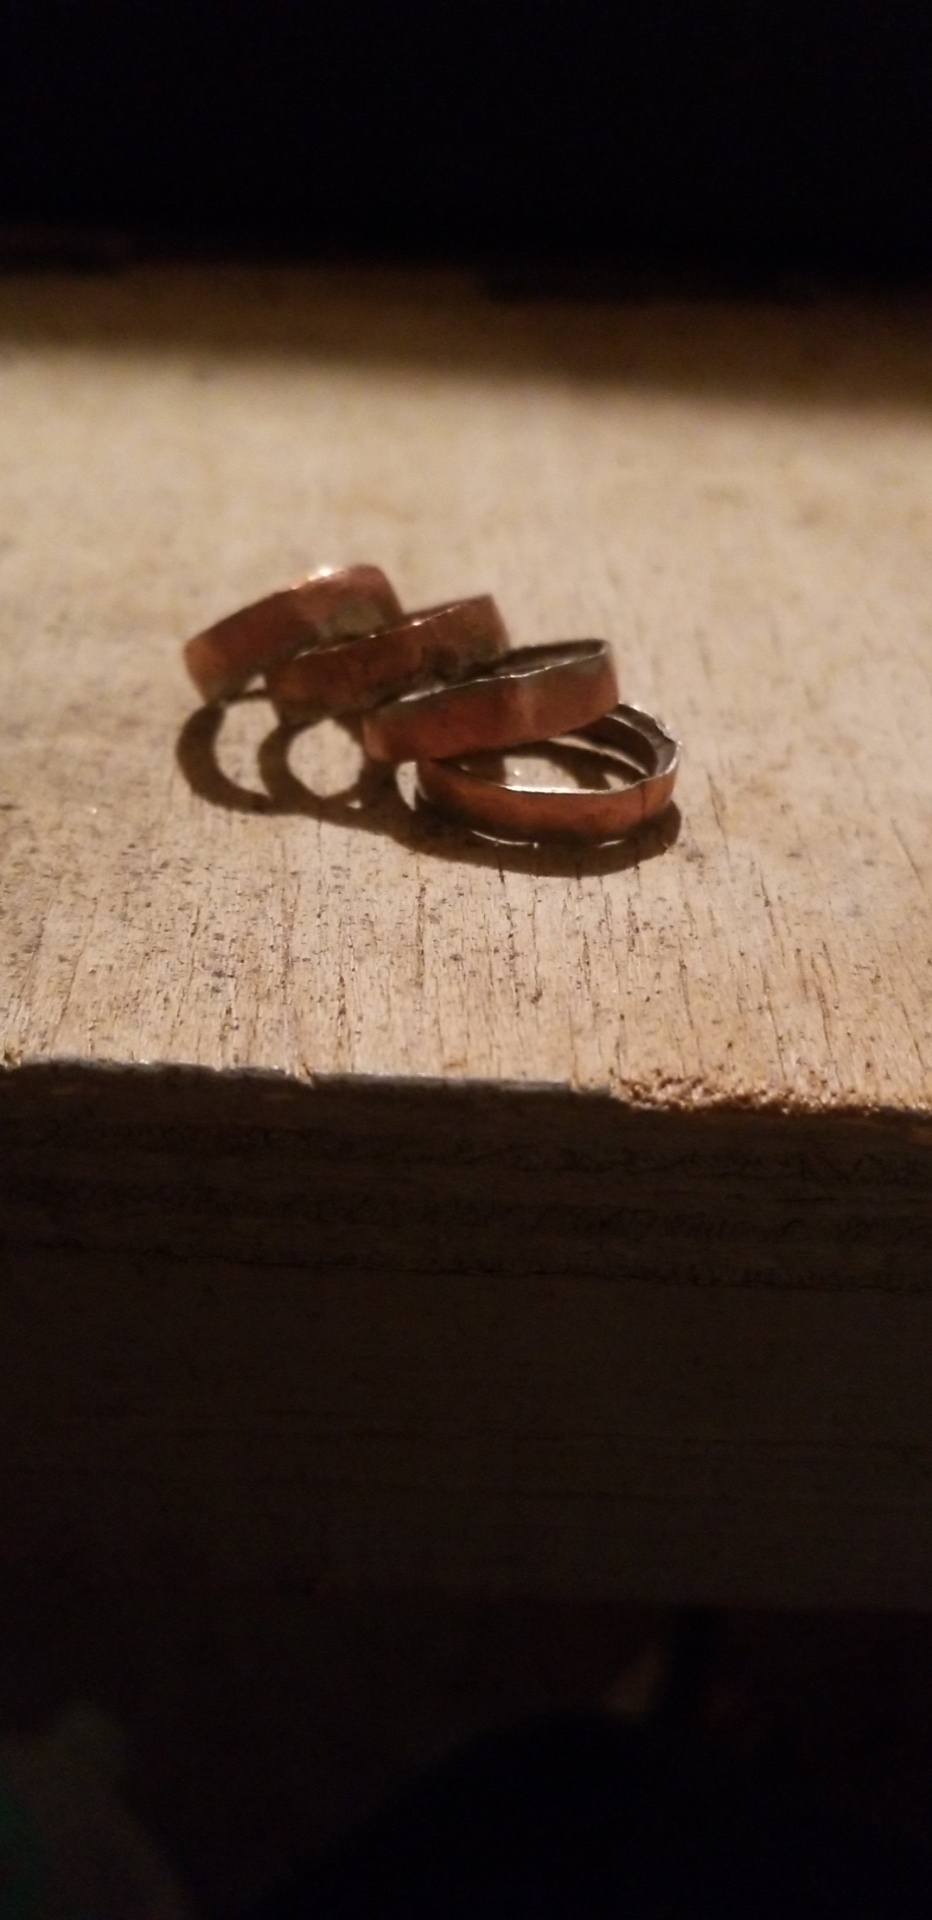
The finished rings retain the reeded edge texture and lettering from the original quarter. The year of the coin becomes a prominent feature on the outside of the ring. The copper core of modern clad quarters becomes visible on the inside and edges, creating an interesting two-tone appearance.
Made several rings in different sizes, including one as a gift that turned out well.
Lessons Learned
The biggest lesson was the importance of patience during the hammering phase. Rushing leads to cracks and uneven walls. Using lighter taps and more of them produces a much cleaner result. Pre-1965 quarters (90% silver) make nicer rings but are more expensive to practice on.